Introduction
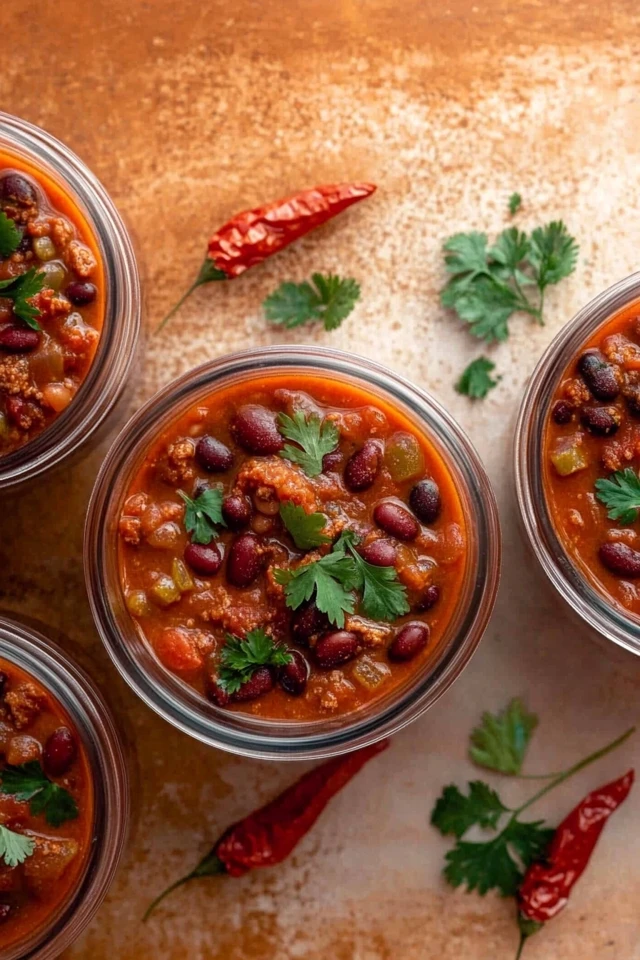
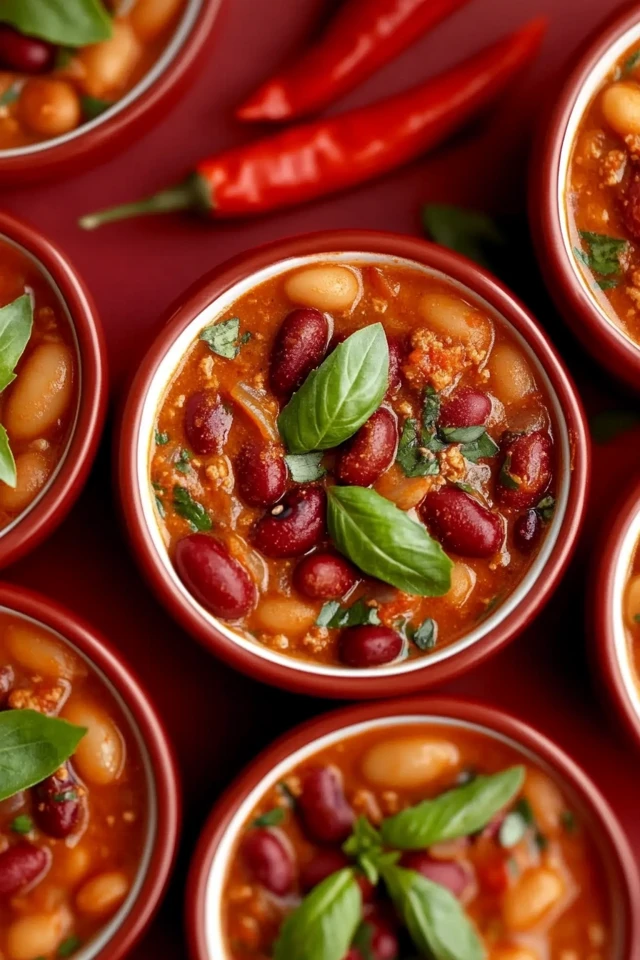
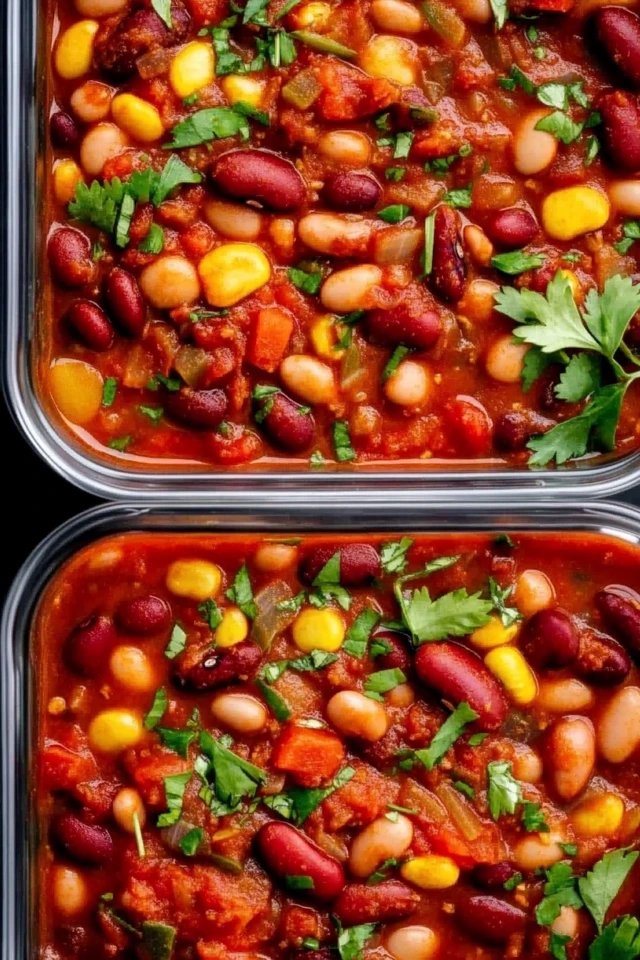
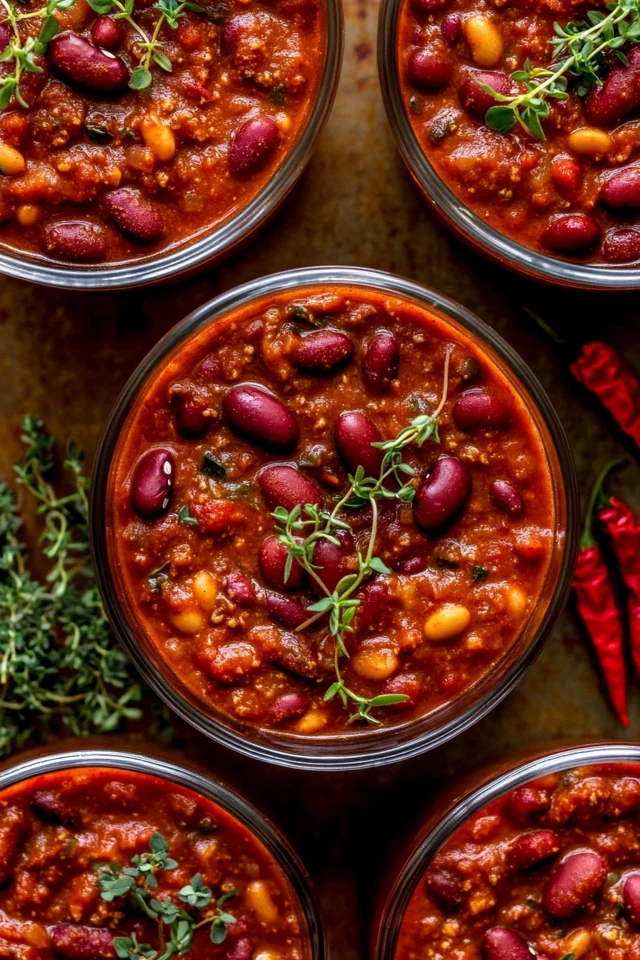
When it comes to satisfying, warm, and comforting meals, nothing beats a big bowl of chili. Hearty Vegan Chili for Meal Prep: Warm & Filling is the ultimate plant-based comfort food, packed with protein, fiber, and rich, smoky flavors. This vegan chili is perfect for meal prepping, as it tastes even better the next day, allowing the spices to meld and intensify. With ingredients like beans, veggies, and bold seasonings, this chili is not only delicious but also packed with nutrients to keep you fueled all week.
Whether you’re looking for a lunch to take to work or a cozy dinner to enjoy at home, this vegan chili has you covered. In this guide, we’ll go over the benefits of meal-prepped chili, provide a step-by-step recipe, and share tips for customizing it to suit your preferences. Get ready to dive into a bowl of hearty, wholesome, plant-based chili that’s both filling and delicious!
Why Choose Hearty Vegan Chili for Meal Prep?
This Hearty Vegan Chili is a go-to meal prep option that’s ideal for cold weather, busy days, and anyone seeking a nutritious, warming meal. Here’s why this chili is perfect for meal prep:
Nutritionally Balanced
- High Protein and Fiber: With beans, lentils, and vegetables, this chili provides a balanced mix of protein and fiber, keeping you full and energized.
- Complex Carbohydrates: The combination of beans and grains (optional) offers slow-releasing energy, supporting blood sugar stability.
- Vitamins and Minerals: Packed with veggies, this chili provides vitamins A, C, potassium, and iron for immune and cardiovascular health.
Time-Saving and Convenient
Cooking chili in bulk allows you to enjoy ready-made meals throughout the week. This vegan chili is also freezer-friendly, so you can make extra servings and store them for later.
Flavorful and Even Better with Time
Chili is one of those dishes that tastes even better the next day, as the flavors have time to deepen and meld. Each bowl of reheated chili is more flavorful, rich, and satisfying.
Versatile and Customizable
You can easily adapt this vegan chili recipe by swapping beans, adding more vegetables, or adjusting the spices. Whether you prefer a mild or spicy kick, this chili can be tailored to your taste preferences.
Ingredients
Creating a Hearty Vegan Chili requires a mix of beans, fresh vegetables, spices, and a few pantry staples. Here’s what you’ll need:
Base Ingredients
- Olive Oil or Avocado Oil: 2 tablespoons
- Onion: 1 large, diced
- Garlic: 4 cloves, minced
- Bell Peppers: 2 (any color), diced
- Carrots: 2 medium, diced
- Celery: 2 stalks, diced
- Tomatoes: 1 can (28 oz) diced or crushed tomatoes
- Tomato Paste: 2 tablespoons
- Vegetable Broth: 4 cups
Beans and Legumes
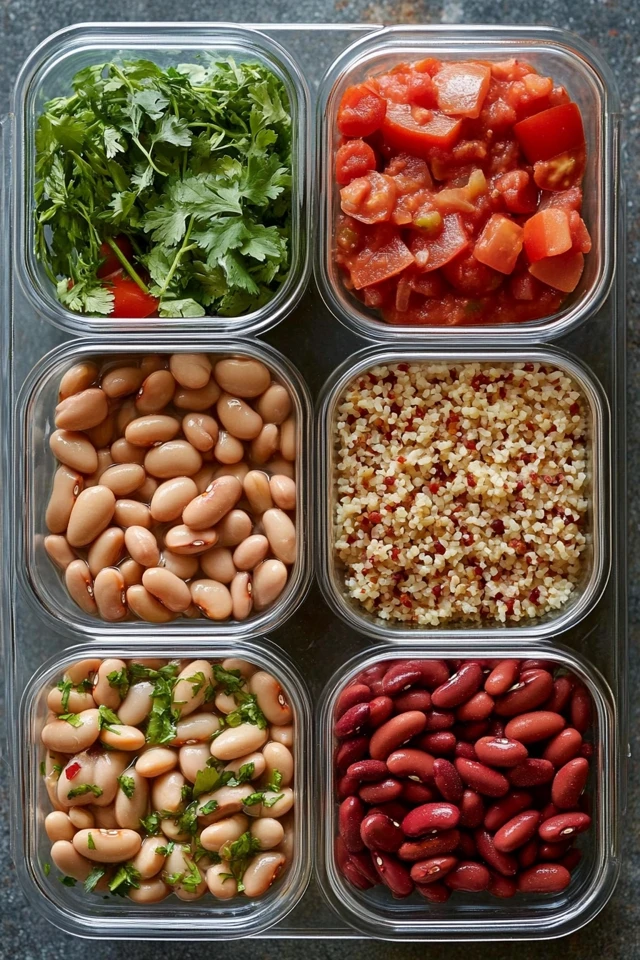
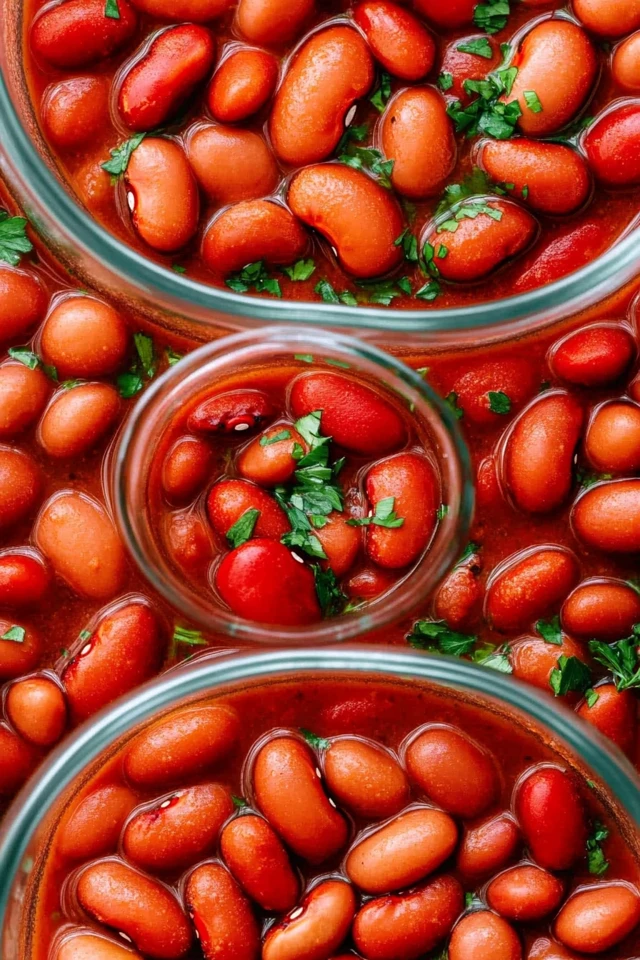
- Black Beans: 1 can (15 oz), rinsed and drained
- Kidney Beans: 1 can (15 oz), rinsed and drained
- Lentils: 1 cup dried green or brown lentils, rinsed
Spices and Seasonings
- Chili Powder: 2 tablespoons
- Cumin: 2 teaspoons
- Paprika: 1 teaspoon (smoked for added depth)
- Oregano: 1 teaspoon
- Cayenne Pepper: 1/4 teaspoon (optional, for heat)
- Salt and Pepper: To taste
- Bay Leaf: 1, for added flavor
Optional Additions and Toppings
- Corn Kernels: 1 cup (fresh, frozen, or canned)
- Quinoa or Brown Rice: 1 cup cooked, for serving
- Fresh Cilantro or Parsley: For garnish
- Avocado: Sliced, for topping
- Green Onions: Sliced, for garnish
- Vegan Sour Cream or Cashew Cream: For a creamy topping
Ingredient Breakdown
- Beans and Lentils: Offer plant-based protein and fiber, making the chili filling and nutritious.
- Vegetables: Add color, texture, and essential vitamins, making the chili both hearty and balanced.
- Spices: Give the chili its rich, smoky flavor, with the option to adjust heat levels to your preference.
Instructions
Preparing Hearty Vegan Chili for the week is simple and rewarding. Follow these step-by-step instructions to create a flavorful and filling meal in under an hour.
Step 1: Sauté the Aromatics
- Heat Oil: In a large pot or Dutch oven, heat the olive oil over medium heat.
- Cook Onions, Garlic, and Vegetables: Add the diced onion, minced garlic, bell peppers, carrots, and celery. Sauté for about 5 minutes, or until the vegetables are softened and fragrant.
Step 2: Add Spices and Tomato Paste
- Stir in Spices: Add the chili powder, cumin, smoked paprika, oregano, and cayenne pepper (if using). Stir for 1-2 minutes to toast the spices and bring out their flavors.
- Add Tomato Paste: Stir in the tomato paste, cooking for an additional 1 minute to deepen the flavor.
Step 3: Add Beans, Lentils, and Liquids
- Combine Ingredients: Add the diced or crushed tomatoes, black beans, kidney beans, and lentils to the pot.
- Pour in Broth: Pour in the vegetable broth, stirring to combine all ingredients.
- Add Bay Leaf: Drop in a bay leaf for added depth of flavor.
Step 4: Simmer the Chili
- Bring to a Boil: Increase the heat and bring the chili to a gentle boil.
- Reduce Heat and Simmer: Once boiling, reduce the heat to low, cover, and let the chili simmer for 30-35 minutes, or until the lentils are tender and the chili has thickened. Stir occasionally to prevent sticking.
- Adjust Seasonings: Taste the chili and adjust salt, pepper, and spices as needed.
Step 5: Add Optional Ingredients
- Add Corn: If using, stir in the corn kernels and let the chili cook for another 5 minutes.
- Remove Bay Leaf: Before serving, remove the bay leaf.
Step 6: Assemble the Meal Prep Containers
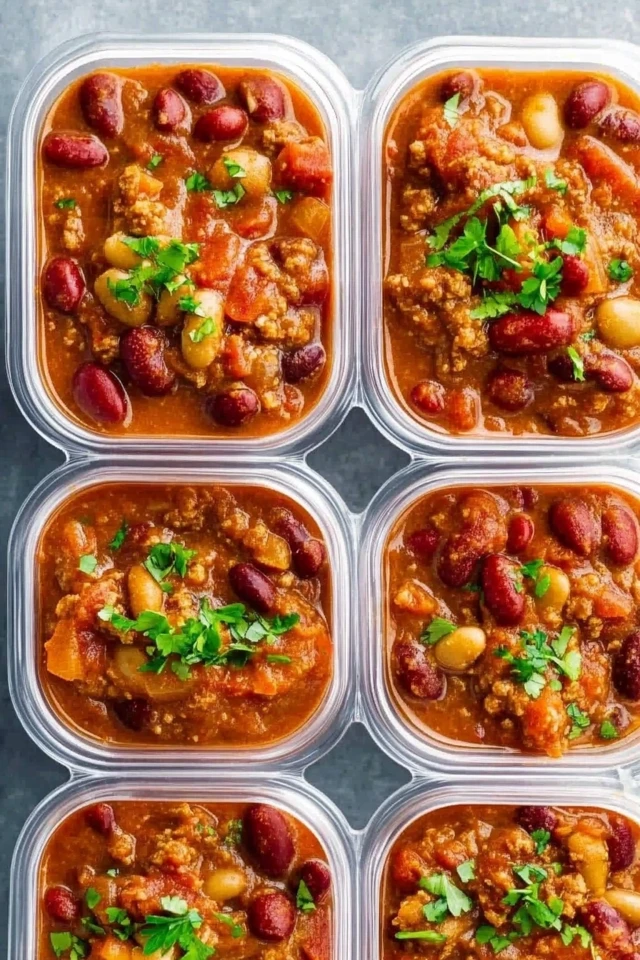
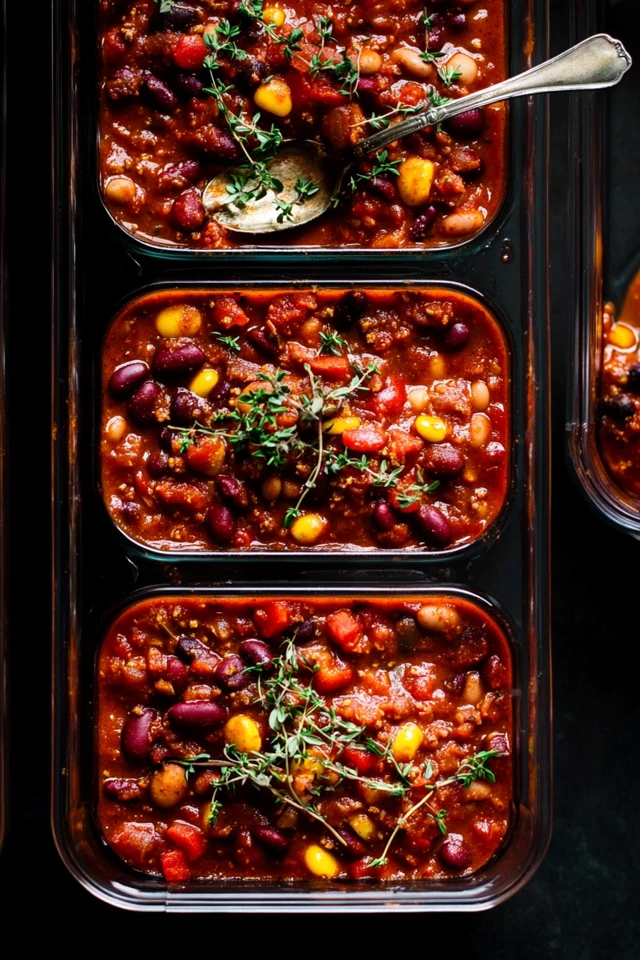
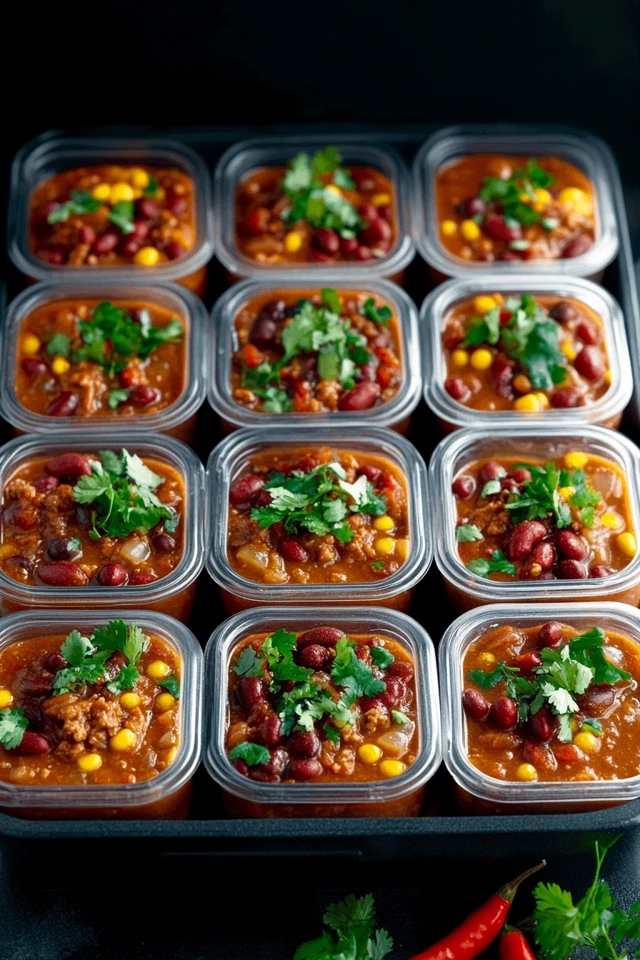
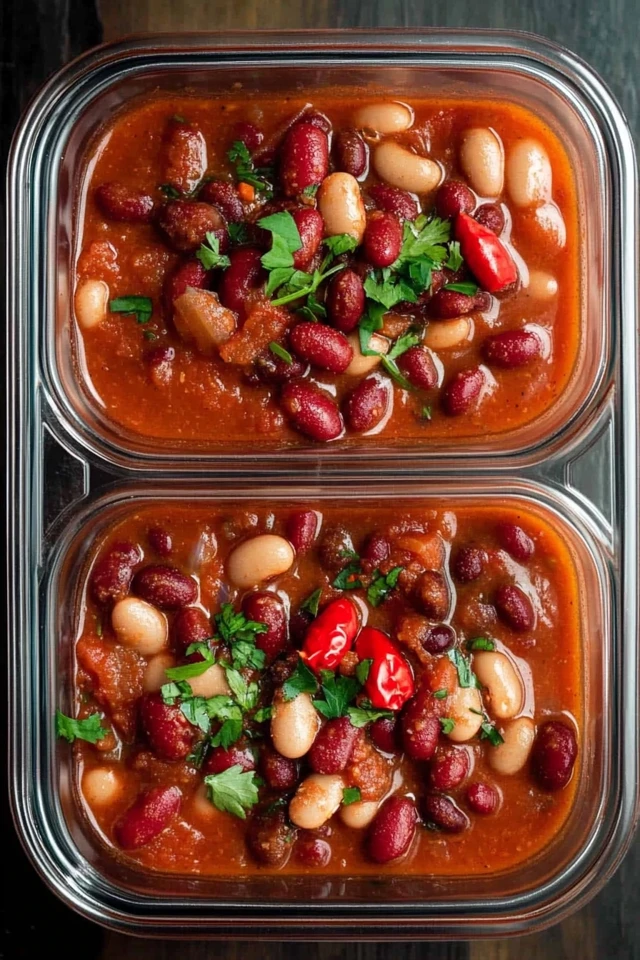
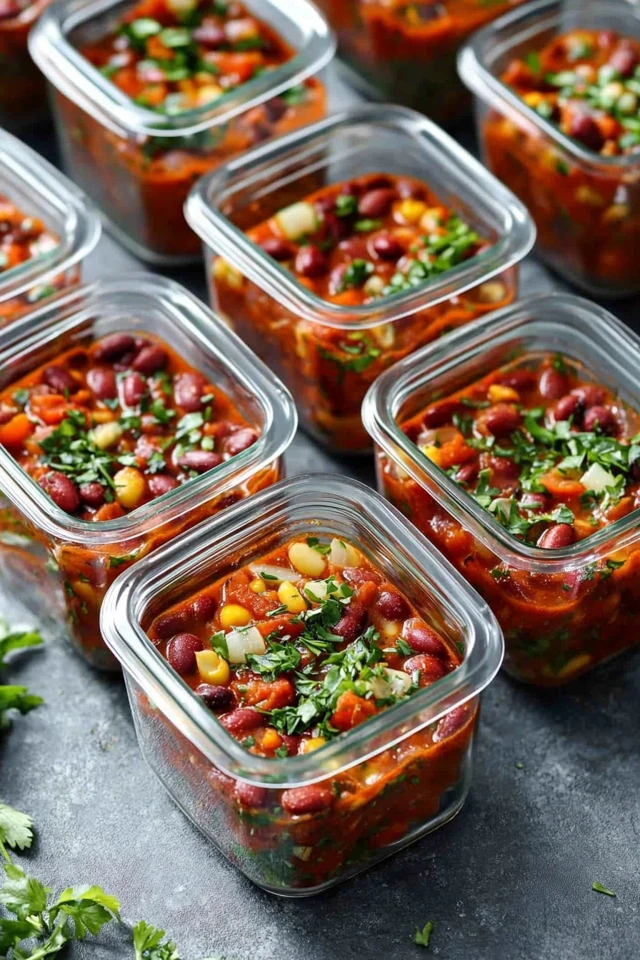
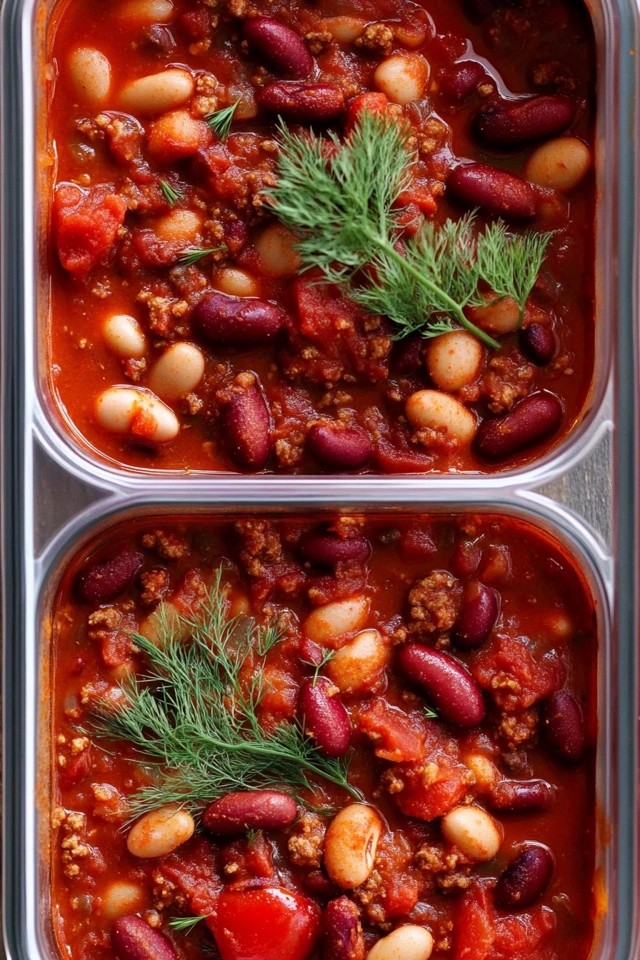
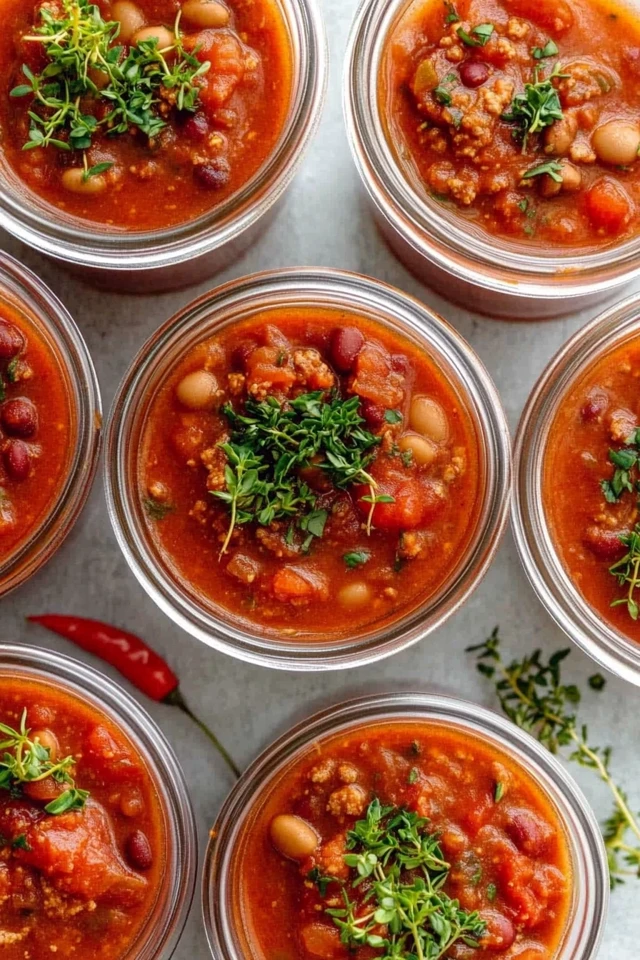
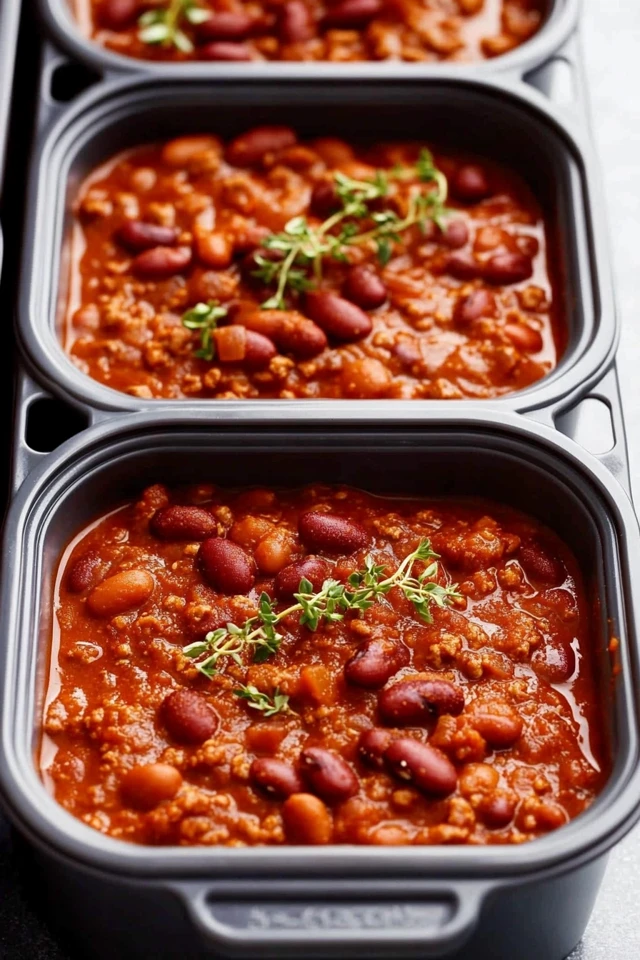
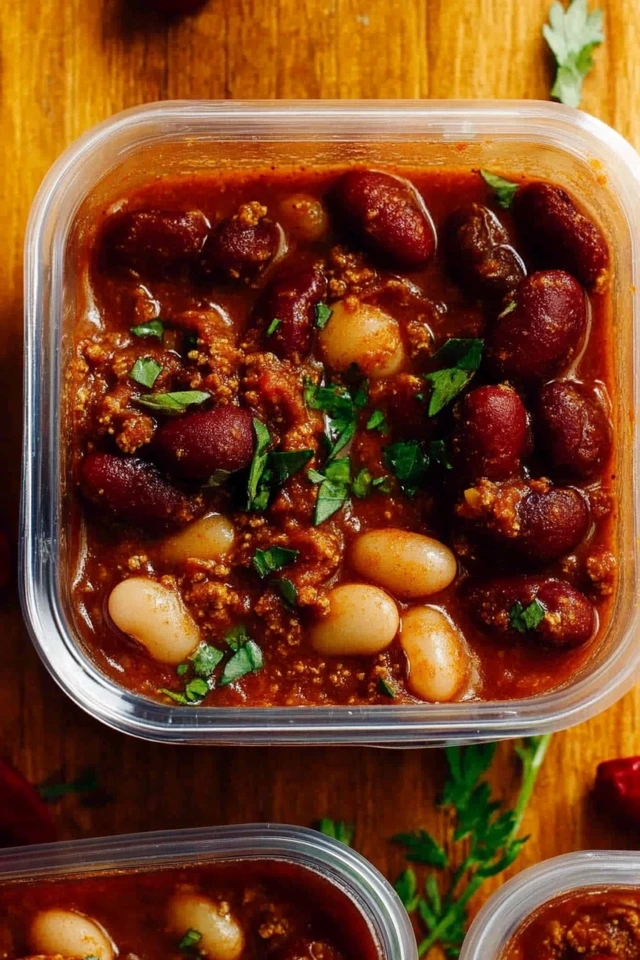
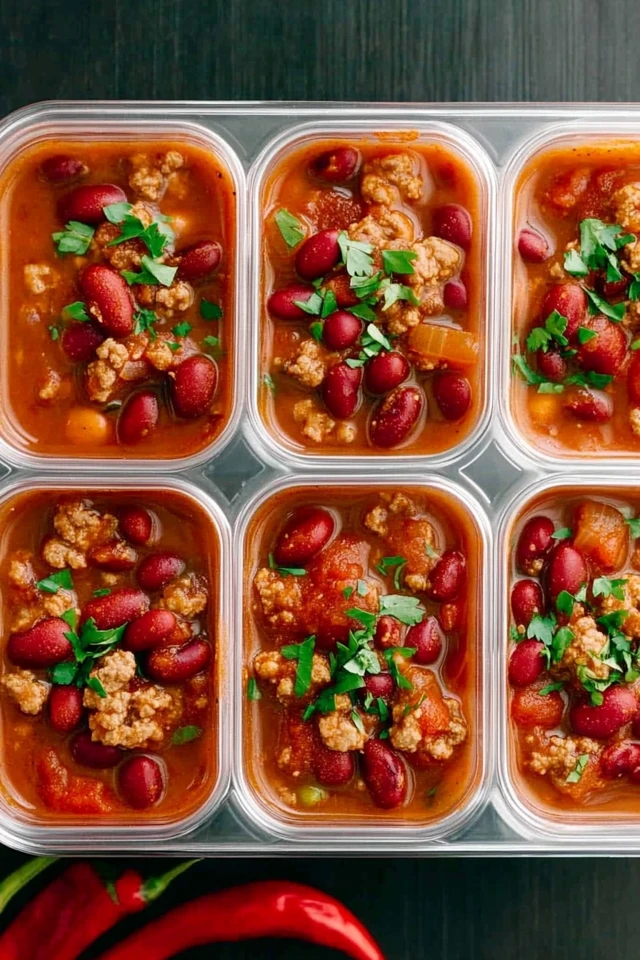
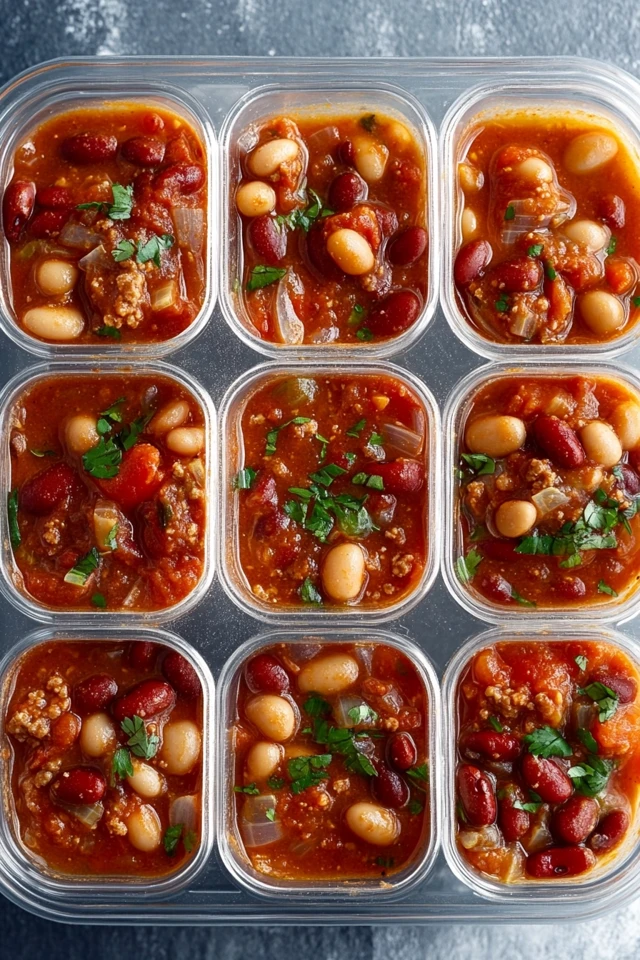
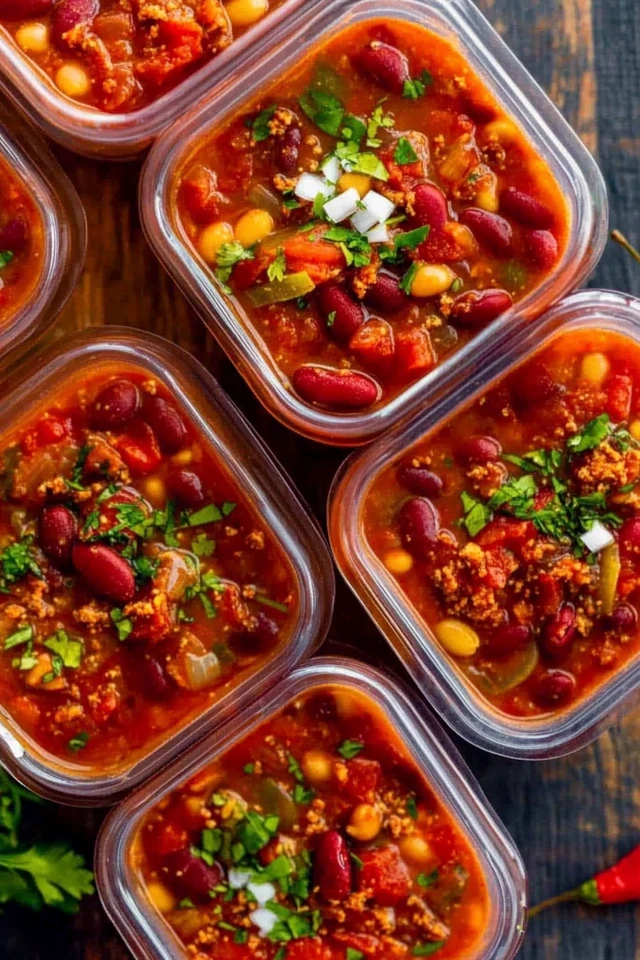
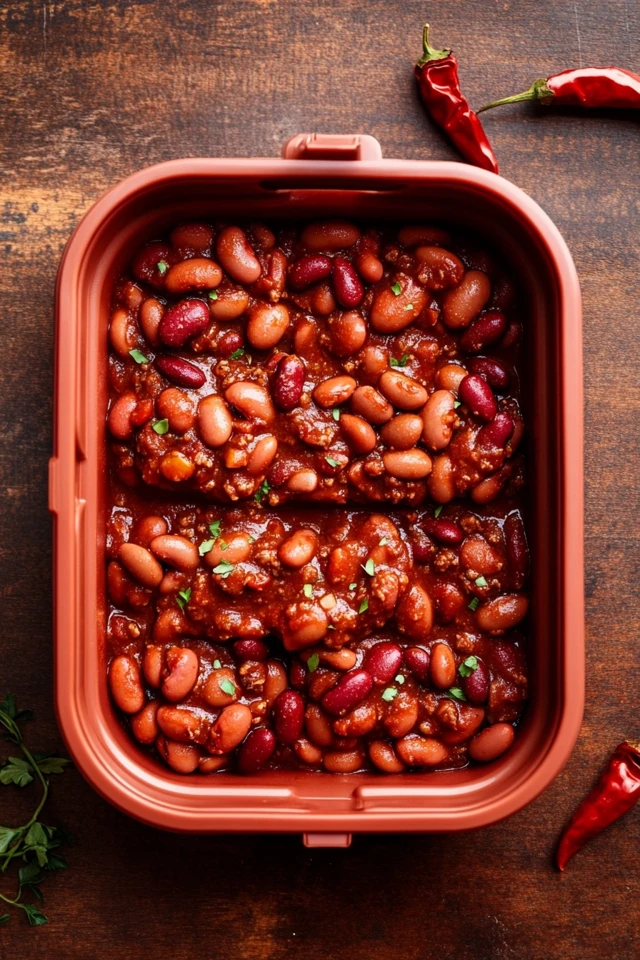
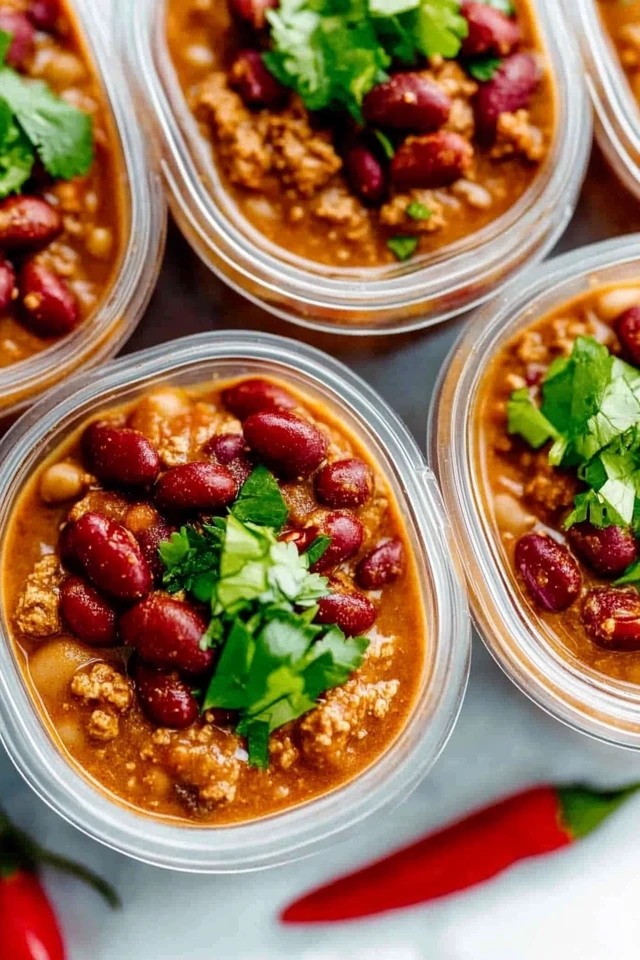
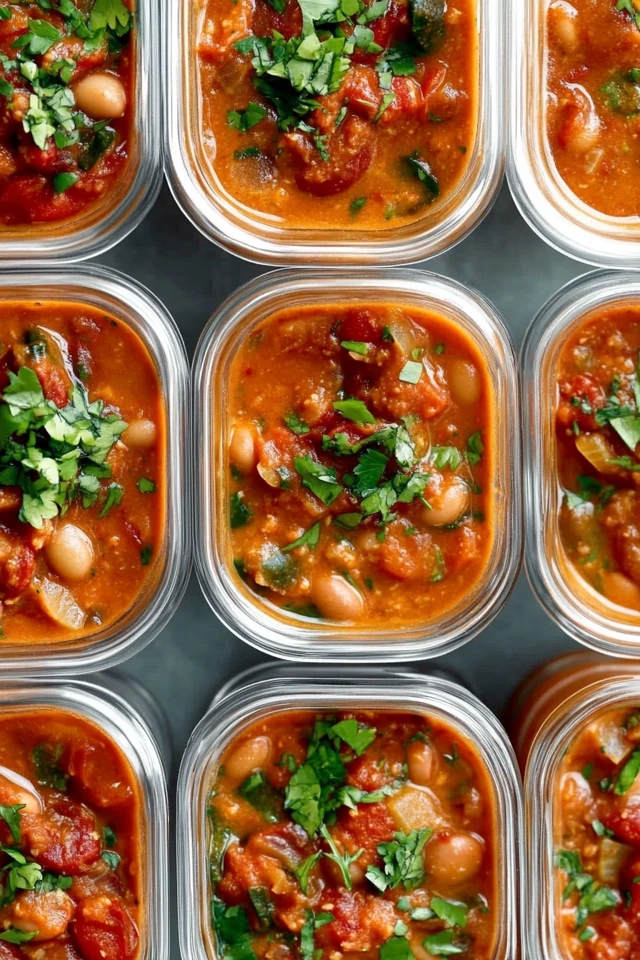
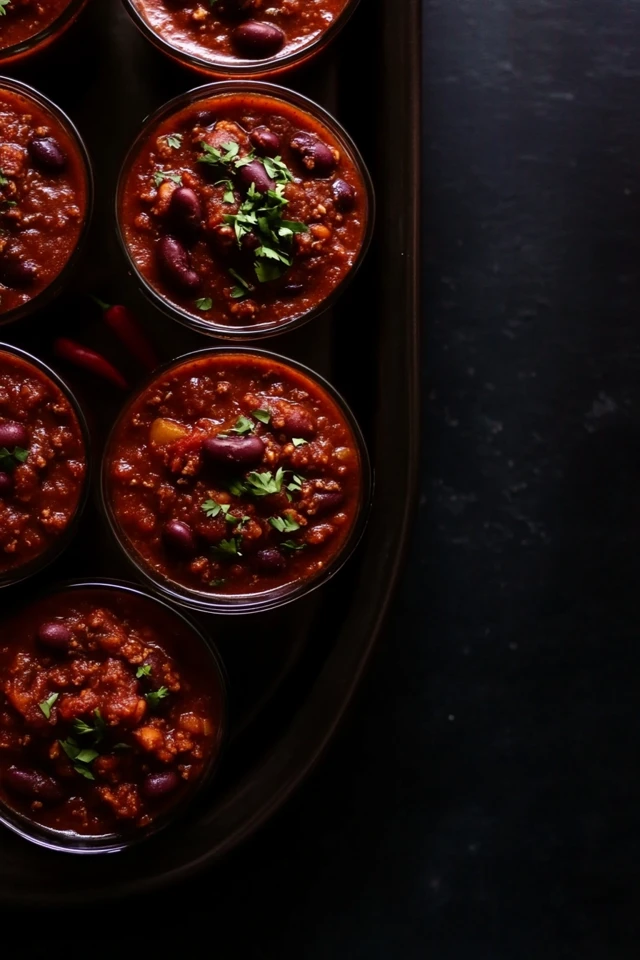
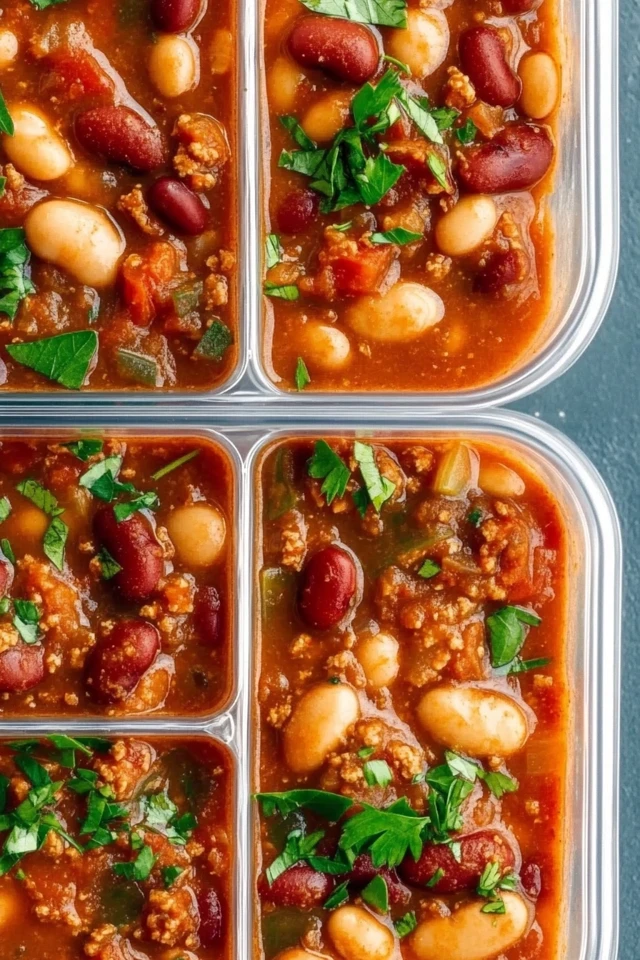
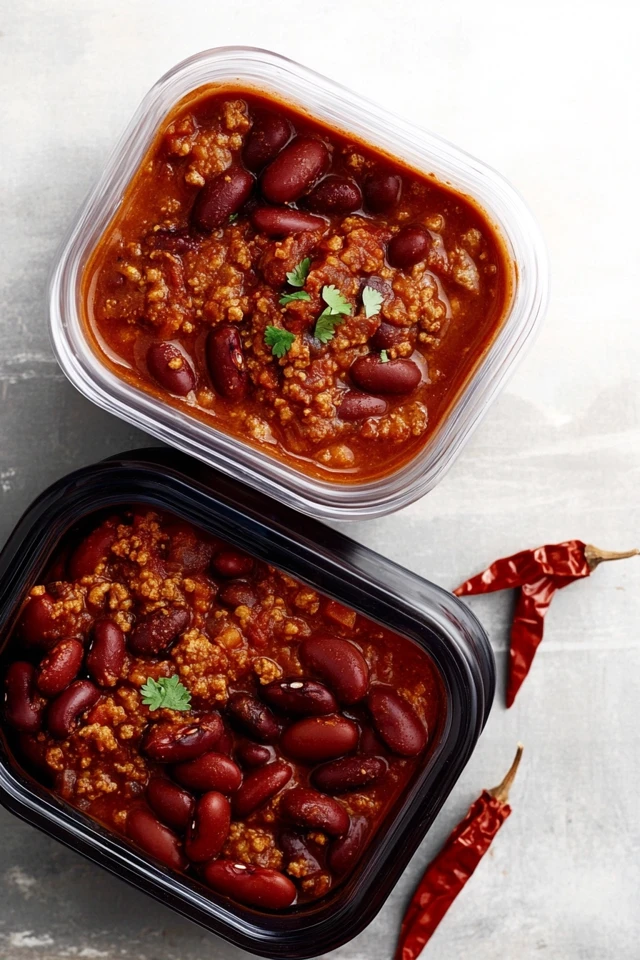
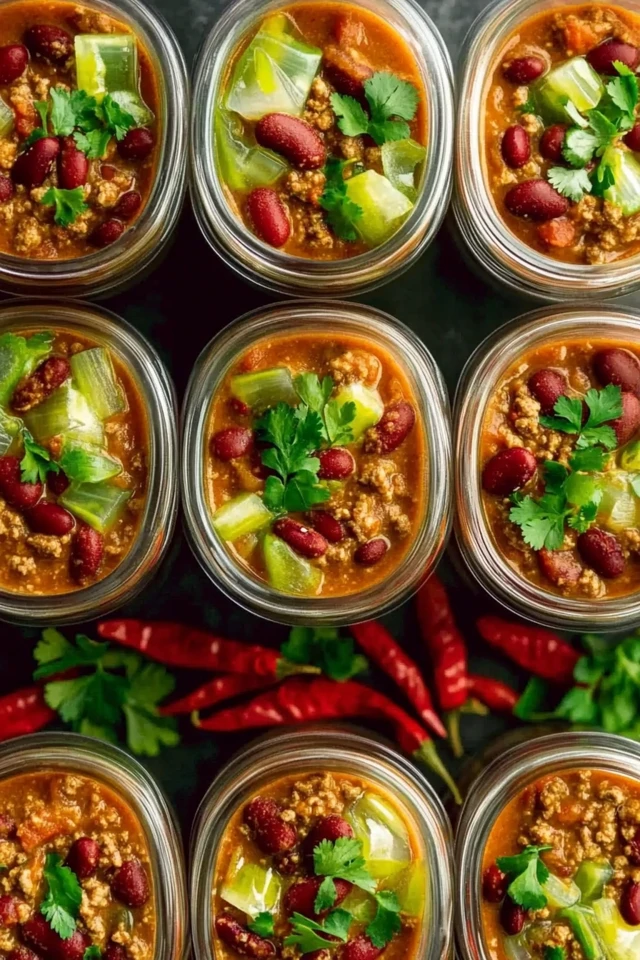
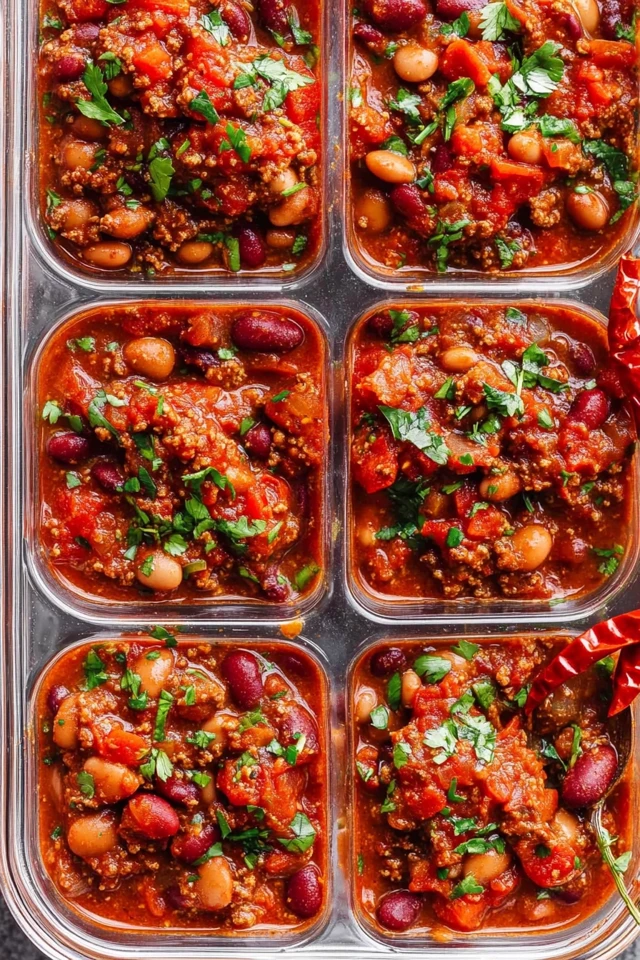
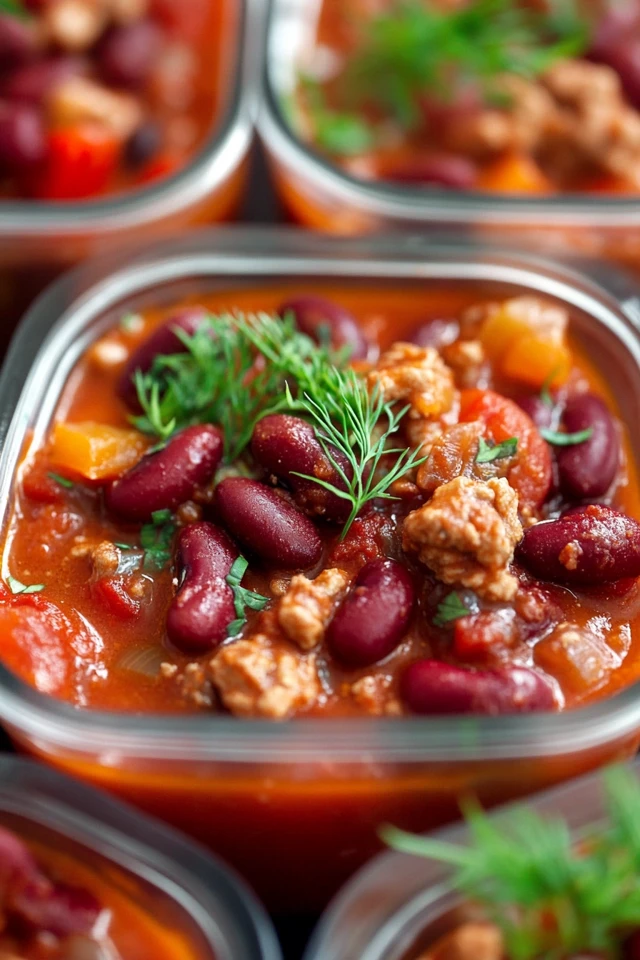
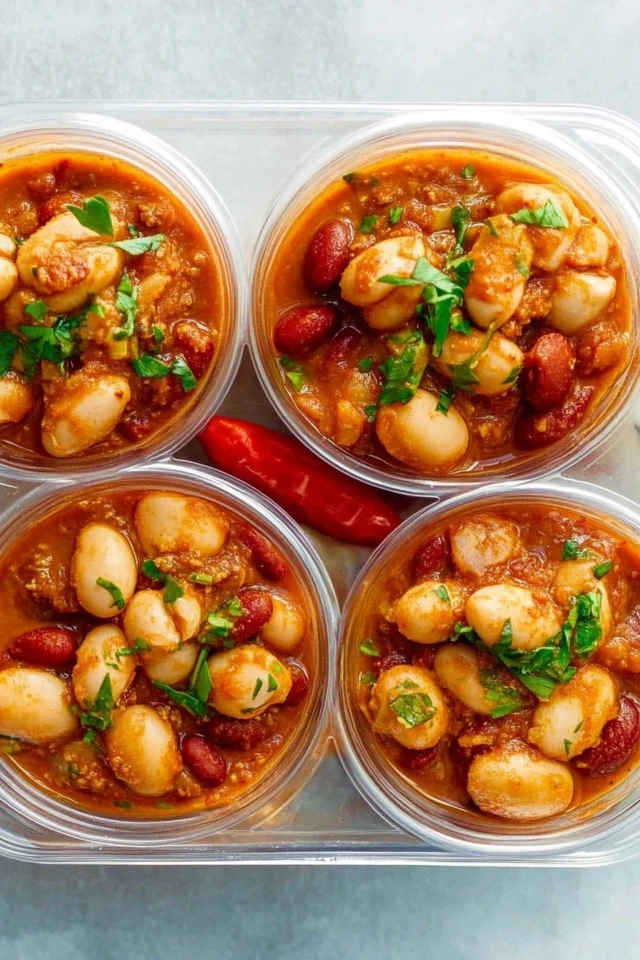
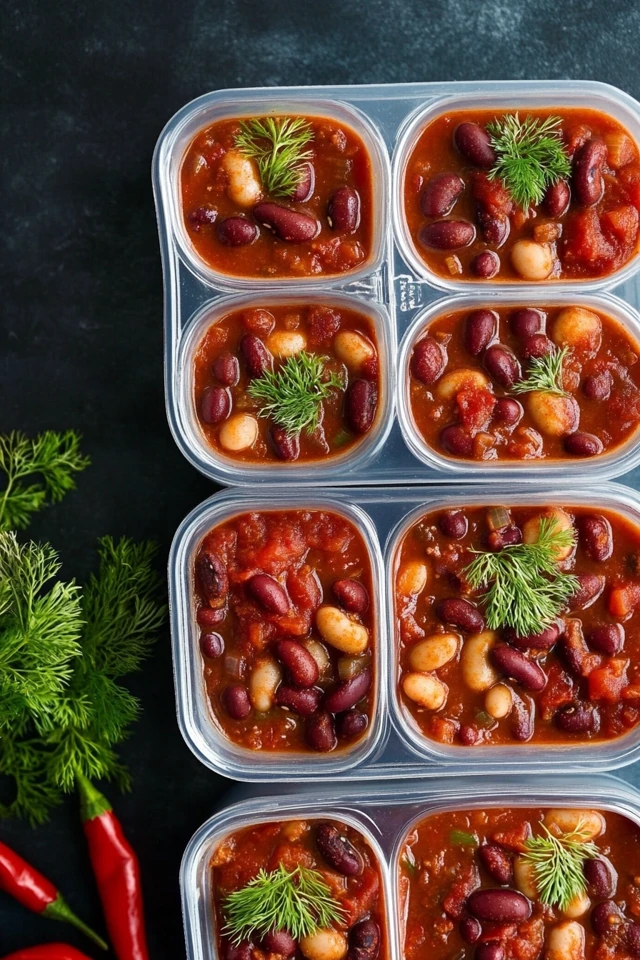
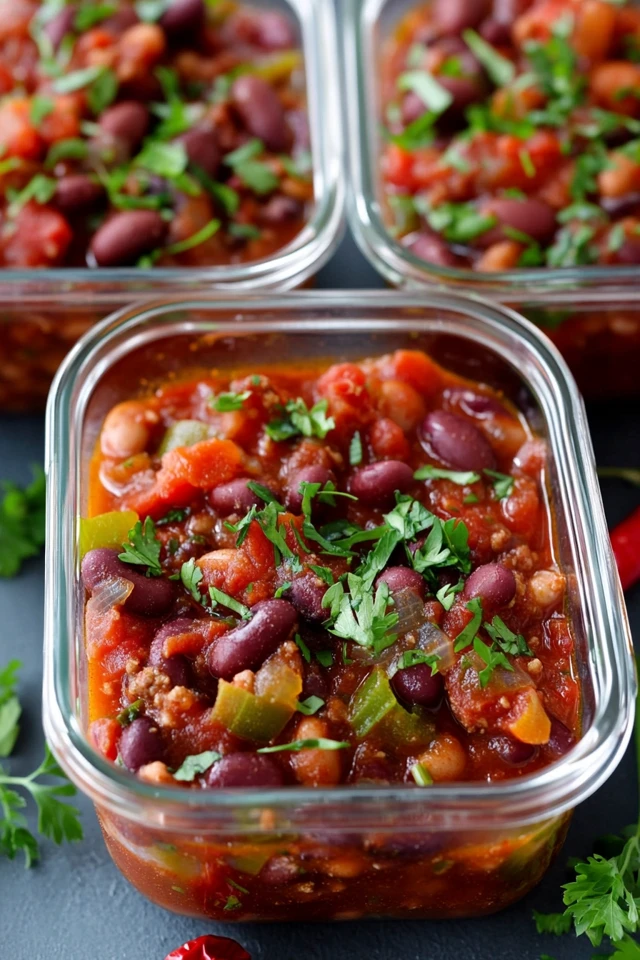
- Divide the Chili: Portion the chili evenly into meal prep containers. For a complete meal, add a scoop of cooked quinoa or brown rice to each container.
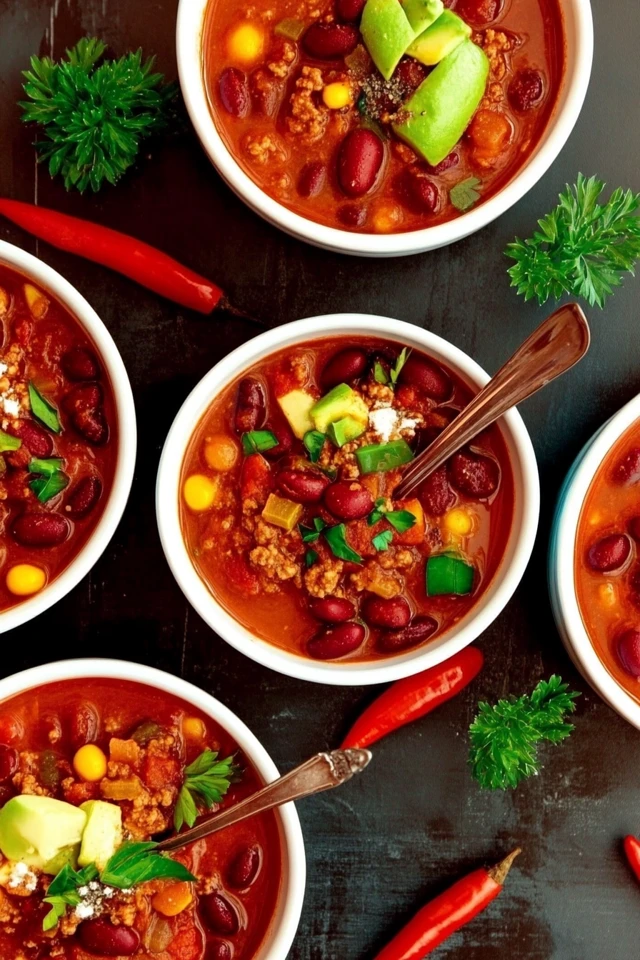
- Add Toppings: Top each serving with fresh cilantro or parsley, sliced avocado, and green onions for garnish.
- Seal and Store: Close the containers tightly and store them in the refrigerator for up to 5 days. For longer storage, freeze individual portions for up to 3 months.
Step 7: Reheat and Serve
- Reheat the Chili: Microwave the chili containers for 2-3 minutes, stirring halfway through. Alternatively, reheat on the stovetop over medium heat until warmed through.
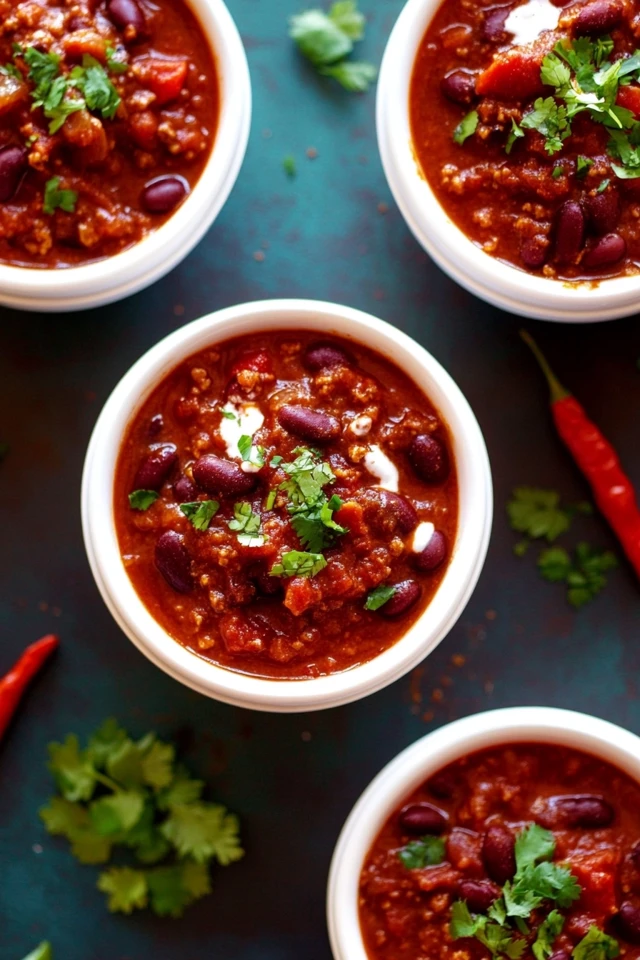
- Add Fresh Toppings (Optional): Before serving, add a dollop of vegan sour cream or cashew cream, a sprinkle of fresh herbs, and any additional toppings.
Tips and Variations
Customize your Hearty Vegan Chili with these helpful tips and creative variations:
1. Experiment with Different Beans
- Chickpeas or White Beans: Substitute black beans or kidney beans with chickpeas or white beans for a different flavor and texture.
2. Use Alternative Proteins
- Tempeh or Tofu Crumbles: Add crumbled tempeh or tofu for an extra protein boost and a meaty texture.
- Vegan Ground Beef: Try a plant-based ground beef alternative for a chili that’s similar in texture to traditional versions.
3. Add Extra Vegetables
- Sweet Potatoes: Add cubed sweet potatoes for a sweet contrast and additional fiber.
- Zucchini or Squash: Incorporate diced zucchini or yellow squash for extra color and nutrients.
4. Adjust Spice Levels
- Mild Chili: Reduce the cayenne pepper and chili powder for a milder version.
- Spicy Chili: Add more cayenne pepper, diced jalapeños, or hot sauce for extra heat.
5. Create a Creamy Variation
- Coconut Milk: Add 1/2 cup of coconut milk for a creamy, slightly sweet chili.
- Cashew Cream: Stir in cashew cream for a rich, creamy texture.
6. Serve with Different Grains
- Quinoa or Farro: Serve the chili over quinoa or farro for a different texture and added nutrients.
- Cauliflower Rice: Use cauliflower rice for a lower-carb option.
7. Garnish with Fresh Herbs
- Fresh Basil or Mint: Garnish with fresh basil or mint for a unique twist.
- Green Onions: Sliced green onions add color and mild flavor.
8. Use a Slow Cooker
- Slow Cooker Option: Sauté the aromatics and add all ingredients to a slow cooker. Cook on low for 6-8 hours or high for 3-4 hours.
9. Enhance with Acidic Notes
- Lime Juice: Squeeze fresh lime juice over each bowl for a burst of brightness.
- Vinegar: Add a splash of apple cider vinegar for depth and tang.
10. Create a Smokier Flavor
- Liquid Smoke: Add a few drops of liquid smoke for a smoky flavor.
- Smoked Paprika: Use extra smoked paprika to enhance the chili’s depth.
Nutritional Information
Here’s the approximate nutritional breakdown for one serving of the Hearty Vegan Chili (serves 6):
Per Serving:
- Calories: 350 kcal
- Protein: 15g
- Carbohydrates: 60g
- Fiber: 16g
- Fat: 6g
- Saturated Fat: 1g
- Sugar: 9g
- Sodium: 450mg
Nutritional Highlights:
- High Protein: Beans and lentils provide ample protein, supporting muscle repair and satiety.
- High Fiber: A variety of beans and veggies offers a significant amount of fiber, promoting digestive health.
- Vitamins and Minerals: Rich in vitamins A and C, potassium, and iron, supporting immunity and heart health.
- Antioxidants: Beans and vegetables contain antioxidants that combat inflammation and oxidative stress.
Adjusting Nutritional Content:
- Lowering Calories: Use less oil or skip the oil entirely by sautéing vegetables in water.
- Increasing Protein: Add an extra can of beans or plant-based ground beef for more protein.
- Reducing Sodium: Use low-sodium vegetable broth and beans, and adjust salt to taste.
Conclusion
The Hearty Vegan Chili for Meal Prep: Warm & Filling is a delicious and nourishing option for those seeking comfort food with minimal effort. Packed with protein, fiber, and rich, smoky flavors, this chili is perfect for batch-cooking and provides a ready-to-eat meal that’s satisfying and wholesome. Enjoy it as a cozy dinner, a quick lunch, or freeze it for future cravings—this chili has you covered.
With its versatility and ease of customization, this vegan chili is suitable for all taste preferences. Whether you like your chili mild or spicy, chunky or smooth, this recipe can be tailored to fit your needs. Embrace the simplicity of meal prepping with this hearty chili, and enjoy a week of nutritious, delicious meals that will warm you from the inside out.
Picture Gallery


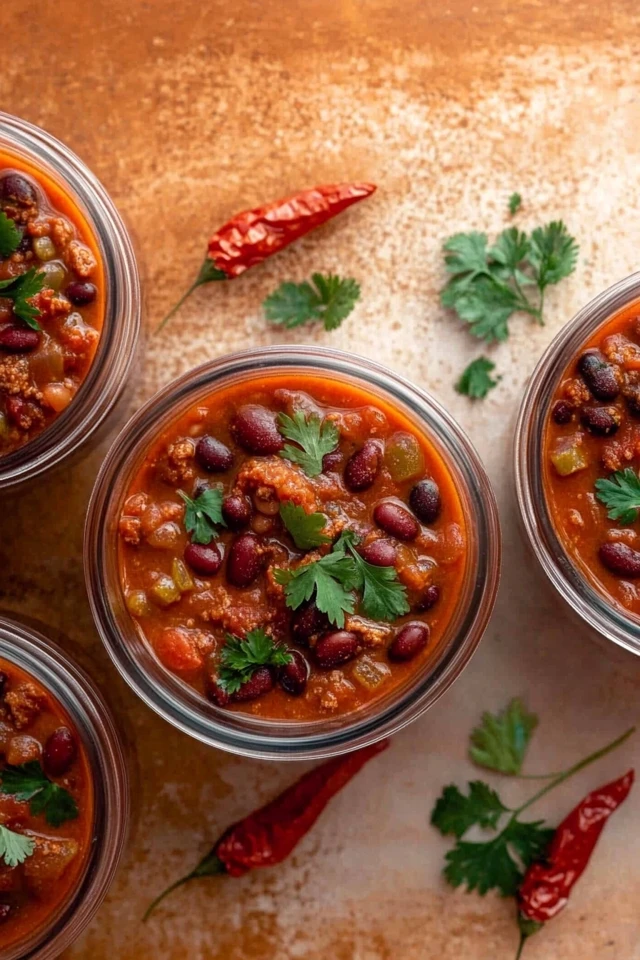


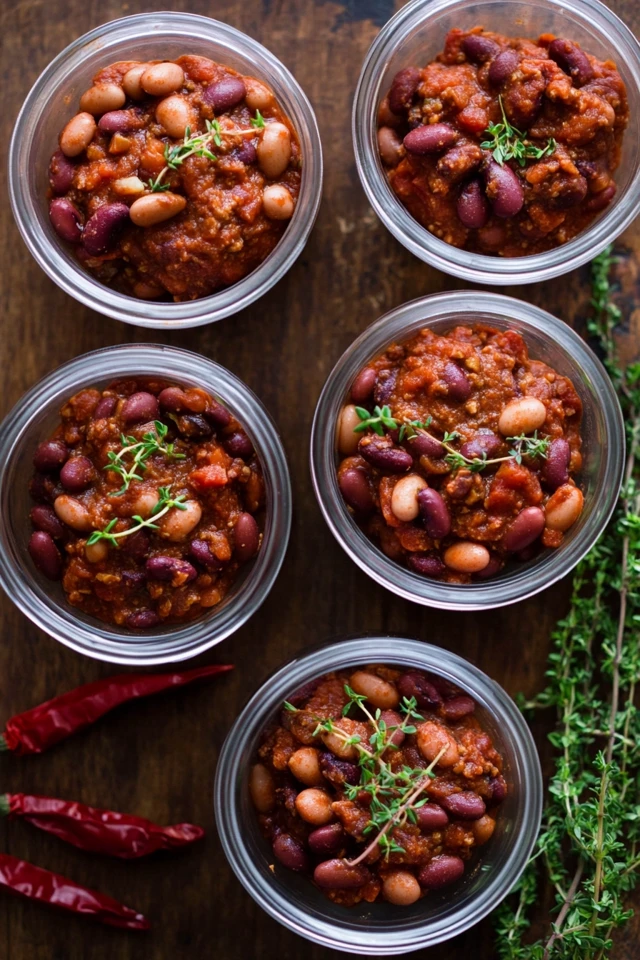

Frequently Asked Questions (FAQs)
1. Can I freeze this vegan chili?
Yes, this chili is freezer-friendly! Portion it into individual containers, freeze for up to 3 months, and thaw overnight in the refrigerator before reheating.
2. Can I make this chili in a slow cooker?
Absolutely! Sauté the aromatics, then add all ingredients to a slow cooker. Cook on low for 6-8 hours or high for 3-4 hours.
3. How long will this chili last in the refrigerator?
This chili will last up to 5 days in the refrigerator when stored in airtight containers.
4. Is this chili suitable for kids?
Yes, this chili can be made kid-friendly by adjusting the spice levels. Omit or reduce the cayenne pepper for a milder version.
5. Can I make this chili oil-free?
Yes! Skip the oil and sauté the vegetables in a splash of vegetable broth or water.
6. What beans can I substitute in this recipe?
You can use chickpeas, white beans, or pinto beans in place of the black or kidney beans.
7. How do I thicken the chili?
To thicken the chili, simmer it uncovered for a few extra minutes or mash some of the beans for a thicker texture.
8. Can I add additional toppings?
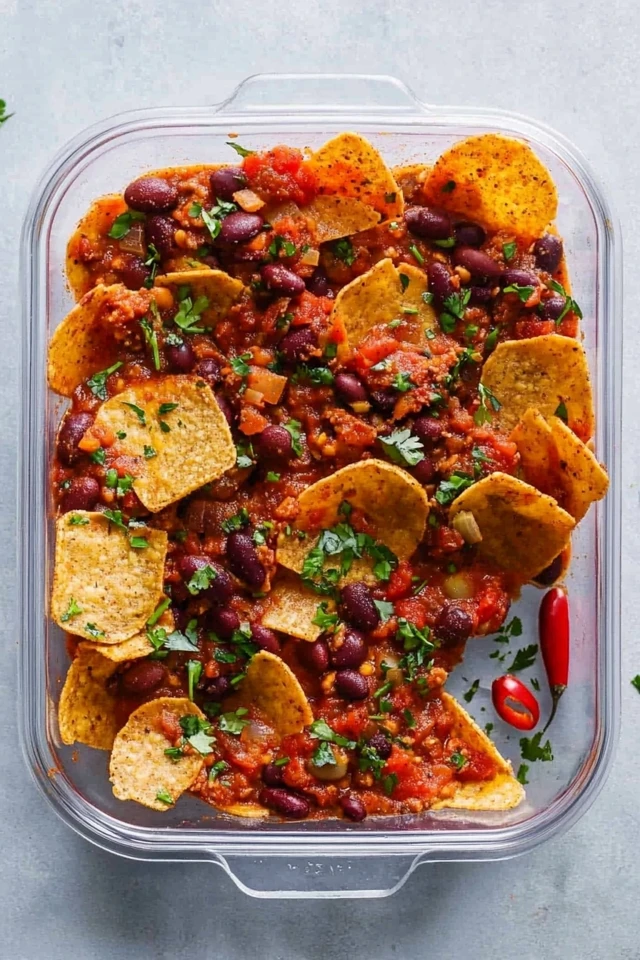
Absolutely! Add toppings like vegan cheese, diced onions, jalapeños, tortilla chips, or your favorite chili toppings.
9. How can I make the chili less spicy?
Simply reduce or omit the cayenne pepper and opt for mild chili powder.
10. Can I serve this chili with other sides?
Yes! Serve it with cornbread, a side of crusty bread, or even over baked potatoes.
About the Author
Welcome to Vegan & Plant-Based Kitchen! I’m Julio Arco, a passionate vegan chef dedicated to creating delicious, easy-to-make plant-based recipes that nourish both body and soul. Since embracing a vegan lifestyle in 2010, I’ve explored endless possibilities in plant-based cooking, from quick and nutritious meals to indulgent treats. My mission is to inspire you to embrace a compassionate and healthy lifestyle through wholesome food. Join me on this journey to create, share, and savor the richness of vegan cooking!
Disclaimer: This blog post is intended for informational purposes only. Always consult with a healthcare professional before making significant changes to your diet.

