Introduction
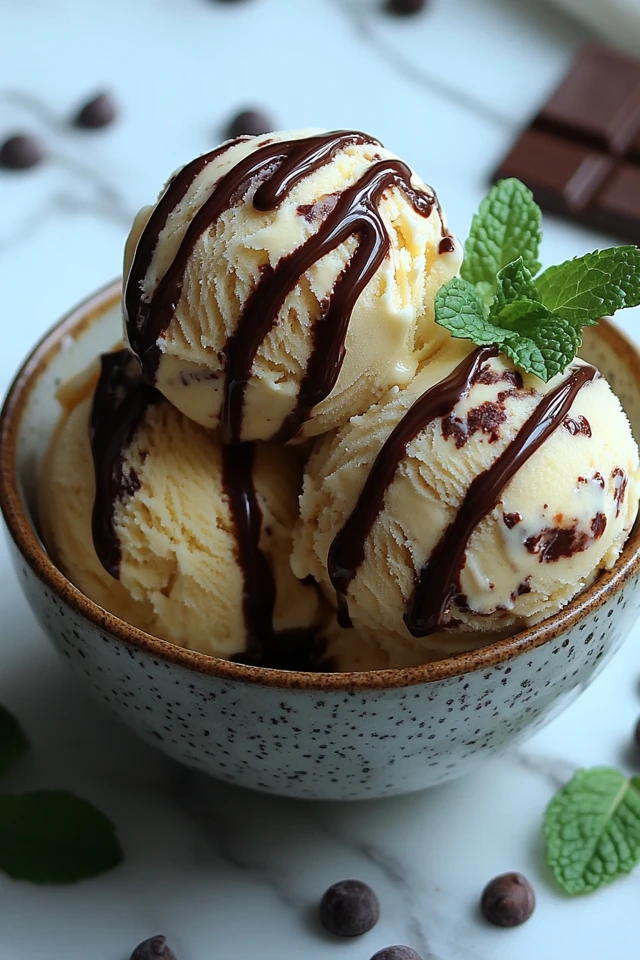
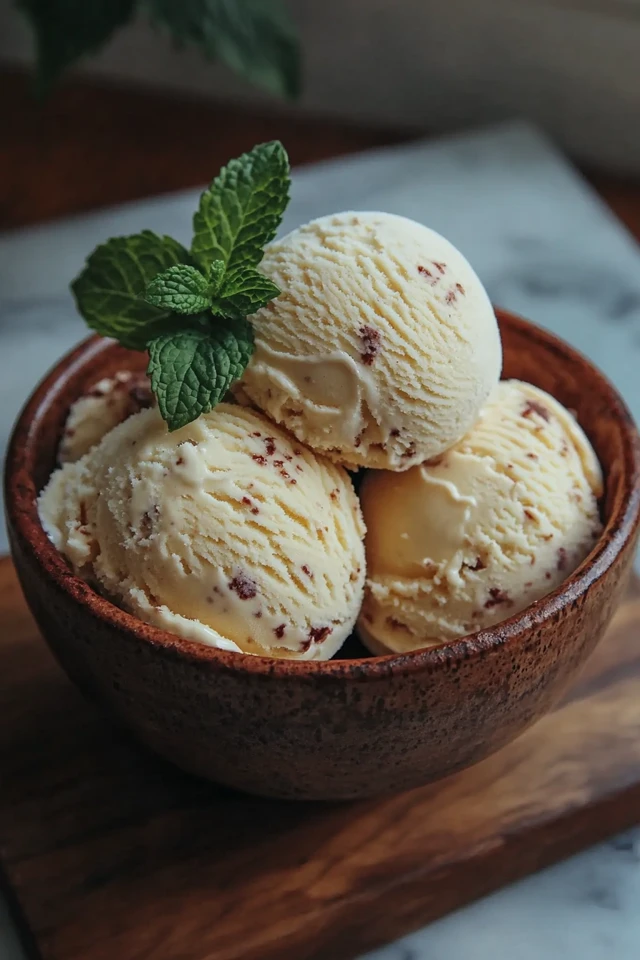
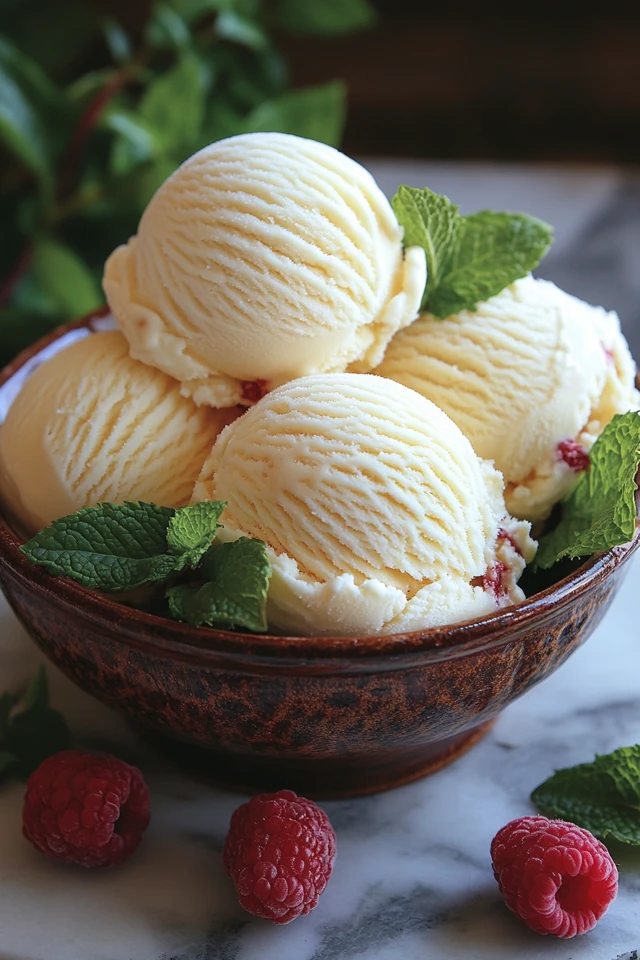
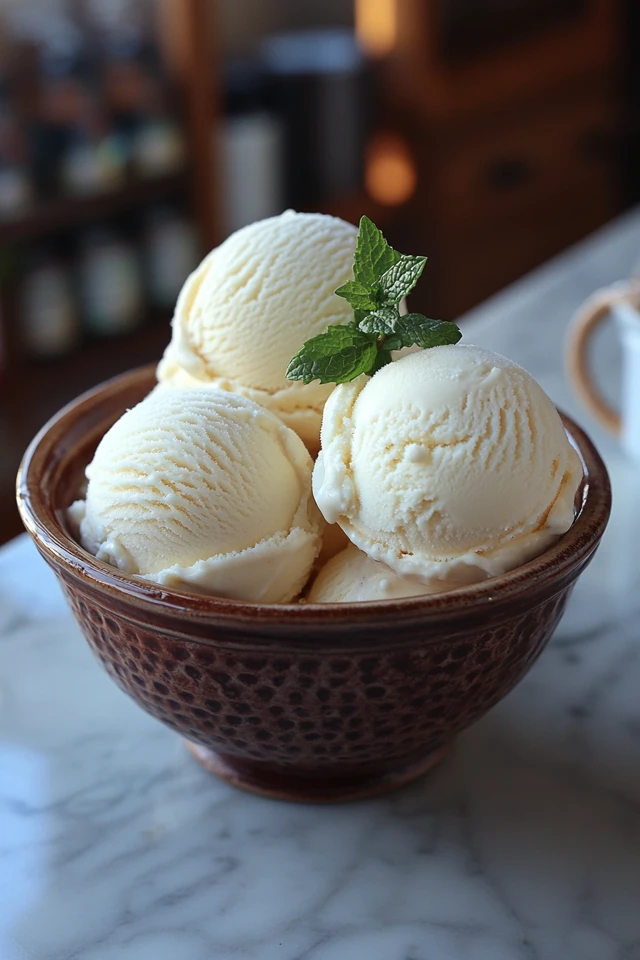
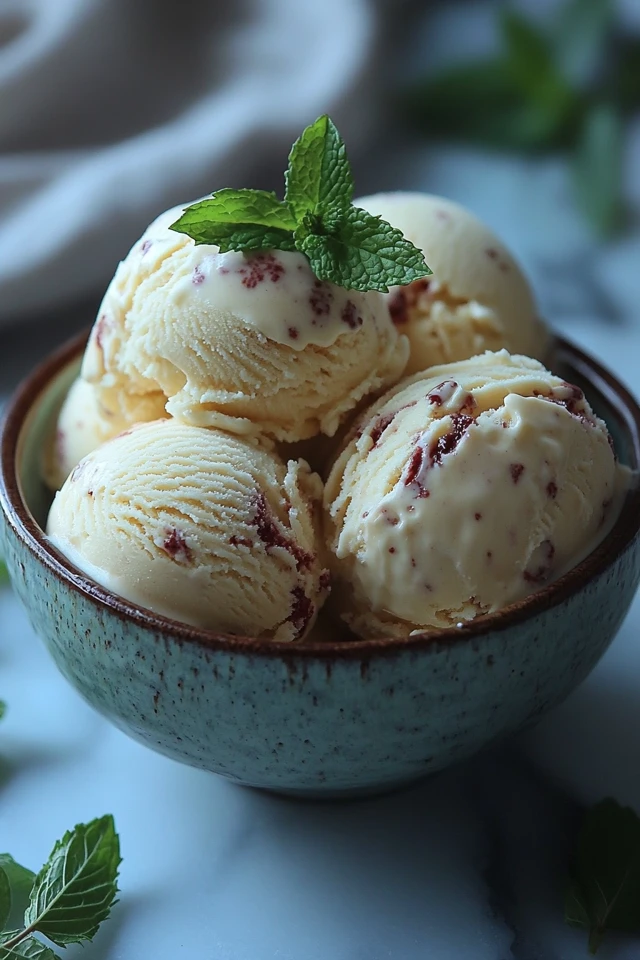
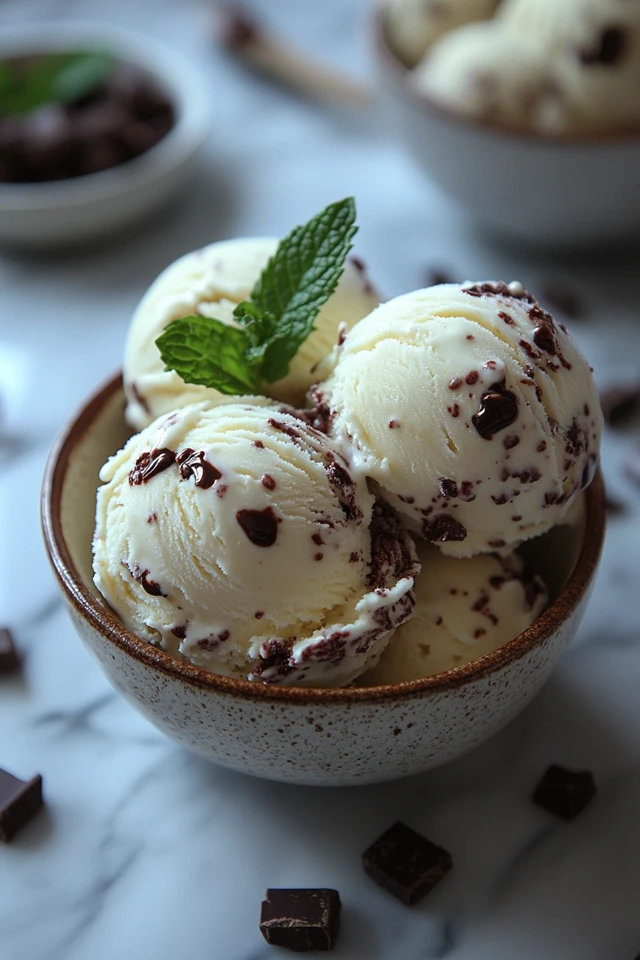
Summer days call for refreshing and indulgent treats, and nothing beats a scoop of Creamy Dairy-Free Ice Cream to cool you down. Whether you’re vegan, lactose intolerant, or simply seeking a healthier alternative to traditional ice cream, this plant-based version delivers all the rich, creamy goodness without any dairy. Crafted from wholesome, natural ingredients, this dairy-free ice cream is not only delicious but also nourishing, making it a perfect dessert for any occasion.
The Creamy Dairy-Free Ice Cream is versatile and easy to make, allowing you to customize flavors and add your favorite mix-ins. From classic vanilla to decadent chocolate and vibrant fruit blends, the possibilities are endless. In this comprehensive guide, we’ll explore the benefits of this dairy-free adaptation, provide a detailed recipe, and share tips and variations to tailor it to your taste preferences. Let’s dive into creating an indulgent plant-based treat that’s as delightful as it is nutritious!
Why Choose Creamy Dairy-Free Ice Cream?
Choosing dairy-free ice cream goes beyond dietary preferences; it’s a step towards a more compassionate and sustainable lifestyle. Here’s why Creamy Dairy-Free Ice Cream is a fantastic addition to your culinary repertoire:
Nutritional Powerhouse
- Plant-Based Milks: Utilizing coconut milk, almond milk, or cashew milk provides healthy fats and essential nutrients without the saturated fats found in dairy.
- Natural Sweeteners: Incorporating maple syrup, agave nectar, or coconut sugar offers a touch of natural sweetness, avoiding refined sugars and their associated health concerns.
- Vitamins and Minerals: Ingredients like coconut milk are rich in vitamins C, E, and B vitamins, as well as minerals such as magnesium and potassium, supporting overall health.
- Antioxidants: Dark chocolate, berries, and nuts not only enhance flavor but also contribute antioxidants that help combat free radicals and reduce inflammation.
Quick and Easy
With a preparation and freezing time of around 1 hour (plus freezing time), this dairy-free ice cream is perfect for spontaneous cravings or planned dessert offerings. The process is straightforward, ensuring that even novice cooks can achieve smooth and creamy results effortlessly.
Versatile and Customizable
One of the greatest advantages of this recipe is its adaptability. You can easily tweak the ingredients and flavors to suit your taste preferences or dietary needs. Whether you prefer a richer chocolate flavor, a tangy fruit blend, or want to add crunchy mix-ins like nuts and chocolate chips, this ice cream can be tailored to meet your individual requirements.
Economical and Accessible
The ingredients used in this dish are not only nutritious but also budget-friendly and widely available. Coconut milk, natural sweeteners, and basic flavorings are common staples in most grocery stores, ensuring that you can prepare this treat without breaking the bank or embarking on a special shopping trip.
Ingredients
Creating a luscious Creamy Dairy-Free Ice Cream requires a harmonious blend of plant-based ingredients and flavorful additions. Here’s what you’ll need:
Base Ingredients
- 2 cans (13.5 oz each) full-fat coconut milk (chilled overnight)
- 1/2 cup maple syrup or agave nectar (adjust to taste)
- 2 teaspoons vanilla extract
- Pinch of salt
Optional Flavorings and Mix-Ins
- 1/2 cup cocoa powder (for chocolate ice cream)
- 1 cup fresh or frozen berries (for fruit-flavored ice creams)
- 1/2 cup chopped nuts (such as almonds, walnuts, or pecans)
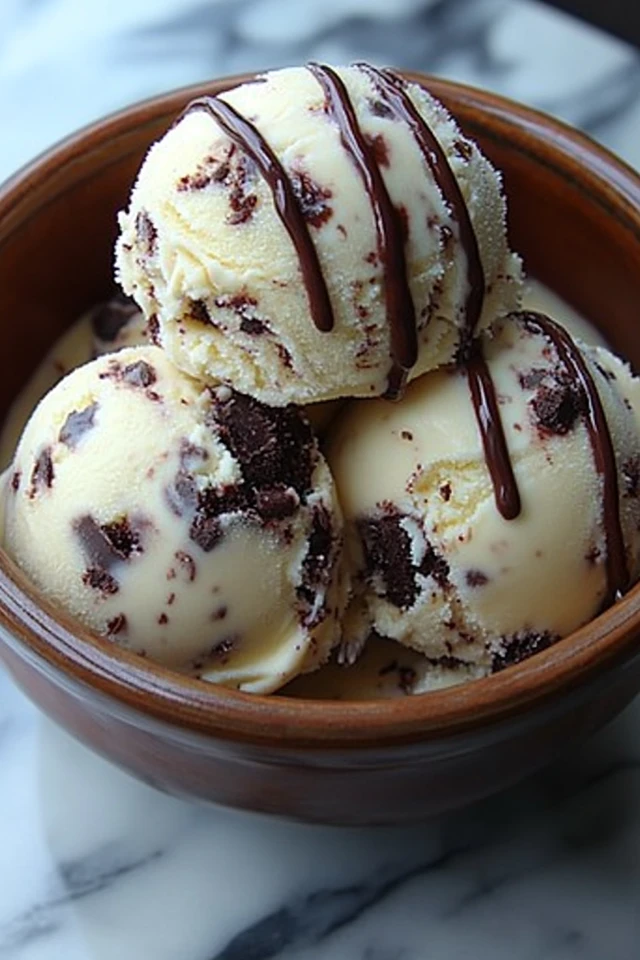
- 1/2 cup vegan chocolate chips
- 1 tablespoon instant espresso powder (to enhance chocolate flavor)
- 1/2 cup swirl of peanut butter or almond butter
Ingredient Breakdown
- Coconut Milk: Serves as the creamy, rich base, providing healthy fats and a smooth texture.
- Maple Syrup or Agave Nectar: Natural sweeteners that add sweetness without the harshness of refined sugars.
- Vanilla Extract: Enhances the overall flavor, providing depth and aroma.
- Salt: Balances the sweetness and enhances the flavors of the other ingredients.
- Cocoa Powder: Adds a deep, chocolaty flavor for a classic chocolate ice cream.
- Berries and Nuts: Provide bursts of flavor and texture, making each scoop more interesting and enjoyable.
- Vegan Chocolate Chips: Introduce pockets of melted chocolate for added indulgence.
- Espresso Powder: Intensifies the chocolate flavor, creating a richer taste experience.
- Nut Butters: Add creaminess and a subtle nutty flavor, enhancing the overall texture.
Instructions
Preparing the Creamy Dairy-Free Ice Cream is simple and requires minimal preparation. Follow these step-by-step instructions to create a delightful and refreshing treat in around 1 hour (plus freezing time).
Step 1: Chill the Coconut Milk
- Refrigerate the Coconut Milk: Ensure your cans of full-fat coconut milk are chilled in the refrigerator overnight. This helps the cream separate from the liquid, resulting in a creamier ice cream base.
Step 2: Prepare the Ice Cream Base
- Scoop the Cream: Open the chilled cans of coconut milk without shaking them. Scoop out the solid coconut cream into a large mixing bowl. Discard or reserve the coconut water for smoothies or other recipes.
- Blend the Base: Using a hand mixer or a stand mixer, whip the coconut cream until it becomes smooth and fluffy, about 2-3 minutes.
- Add Sweeteners and Flavorings: Gradually add the maple syrup or agave nectar, vanilla extract, and a pinch of salt to the whipped coconut cream. Continue mixing until fully incorporated and smooth.
Step 3: Add Optional Flavorings and Mix-Ins
- Choose Your Flavor: Depending on your desired flavor, add in your chosen ingredients:
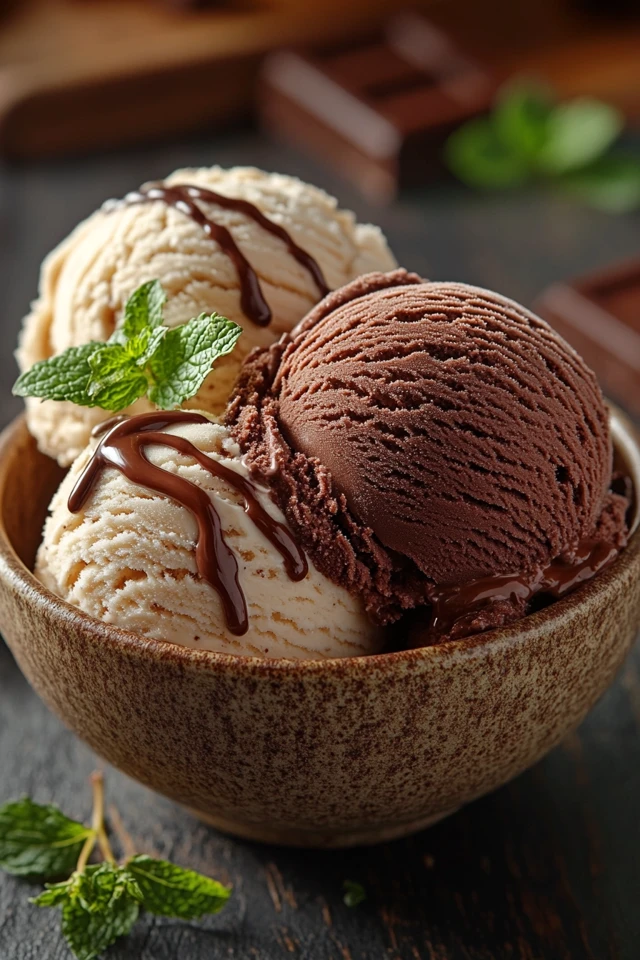
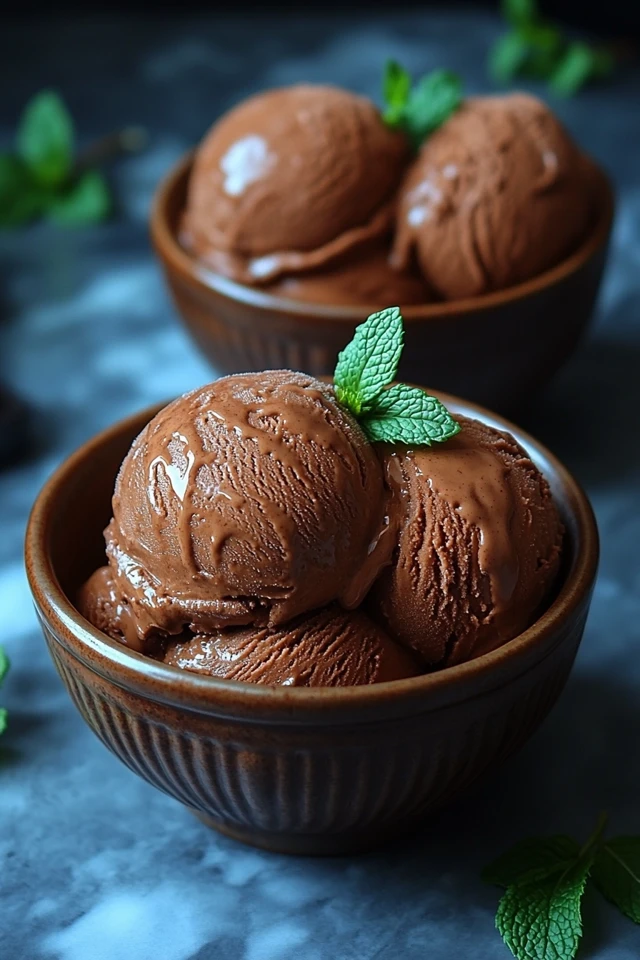
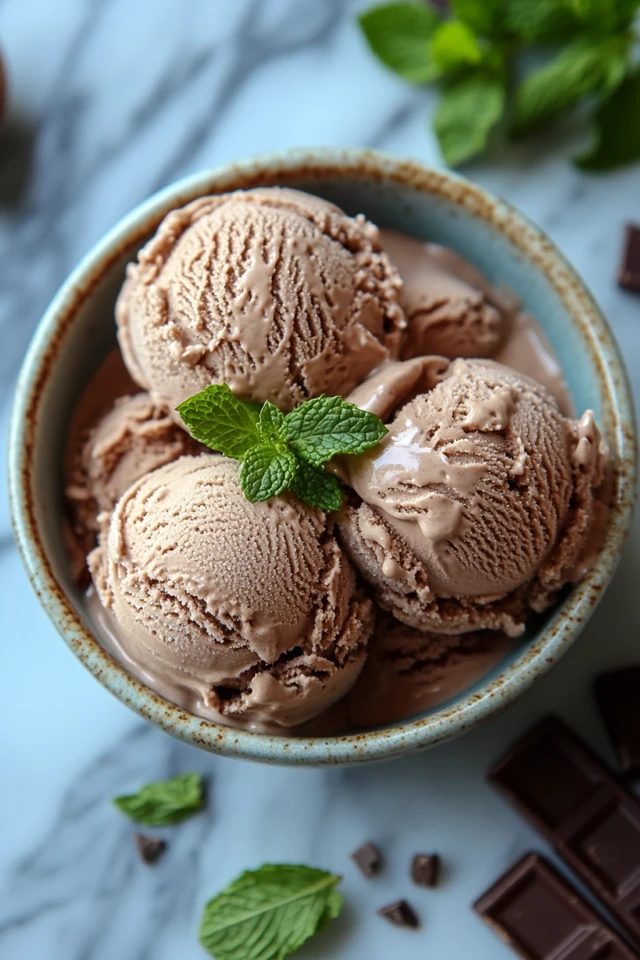
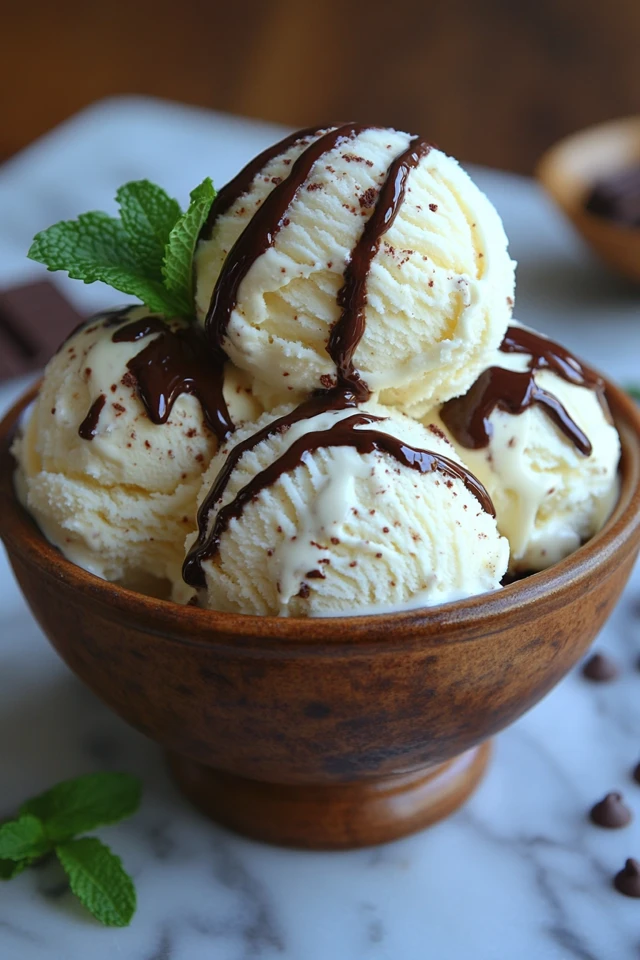
- Chocolate Ice Cream: Sift in the cocoa powder and add instant espresso powder. Mix until fully combined.
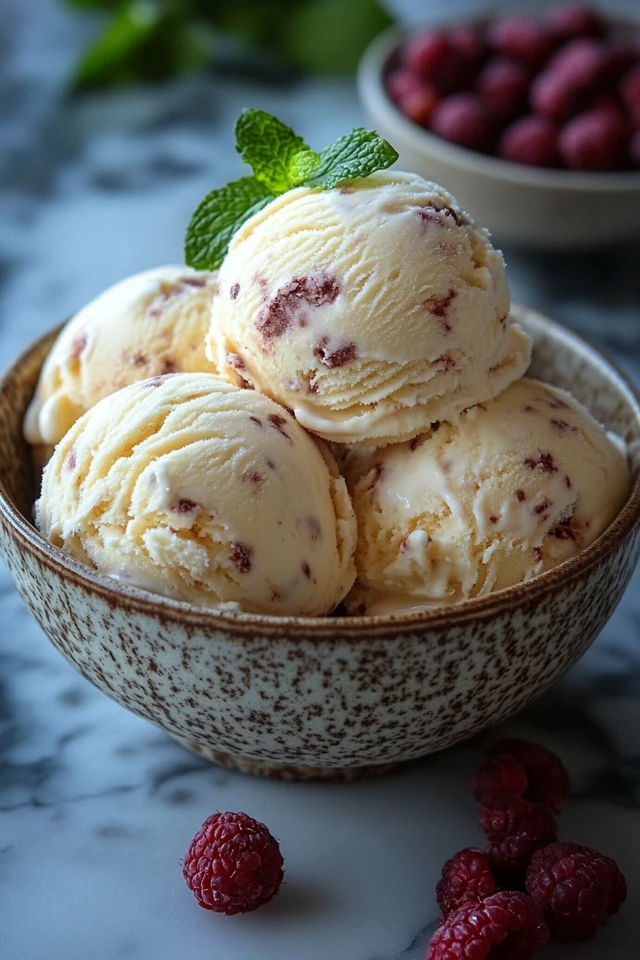
- Fruit-Flavored Ice Cream: Gently fold in the fresh or frozen berries.
- Add Mix-Ins: Incorporate any additional mix-ins such as chopped nuts, vegan chocolate chips, or a swirl of nut butter. Fold them in gently to distribute evenly without overmixing.
Step 4: Transfer to Freezer-Friendly Container
- Prepare the Container: Choose an airtight container suitable for freezing. You can line it with parchment paper for easier removal later.
- Pour the Mixture: Transfer the ice cream mixture into the prepared container, spreading it out evenly.
- Smooth the Top: Use a spatula to smooth the top of the ice cream, ensuring an even surface for freezing.
Step 5: Freeze the Ice Cream
- Initial Freeze: Place the container in the freezer and let it freeze for about 1 hour.
- Stir the Ice Cream: After the initial hour, remove the container and stir the ice cream vigorously with a fork or whisk to break up any ice crystals. This helps achieve a smoother texture.
- Continue Freezing: Return the container to the freezer and repeat the stirring process every 30 minutes for the next 2-3 hours. This manual churning process ensures a creamier consistency.
- Final Freeze: Allow the ice cream to freeze completely for an additional 2-3 hours or overnight for the best texture.
Step 6: Serve and Enjoy
- Scoop the Ice Cream: Once fully frozen, remove the ice cream from the freezer. Let it sit at room temperature for a few minutes to soften slightly for easier scooping.
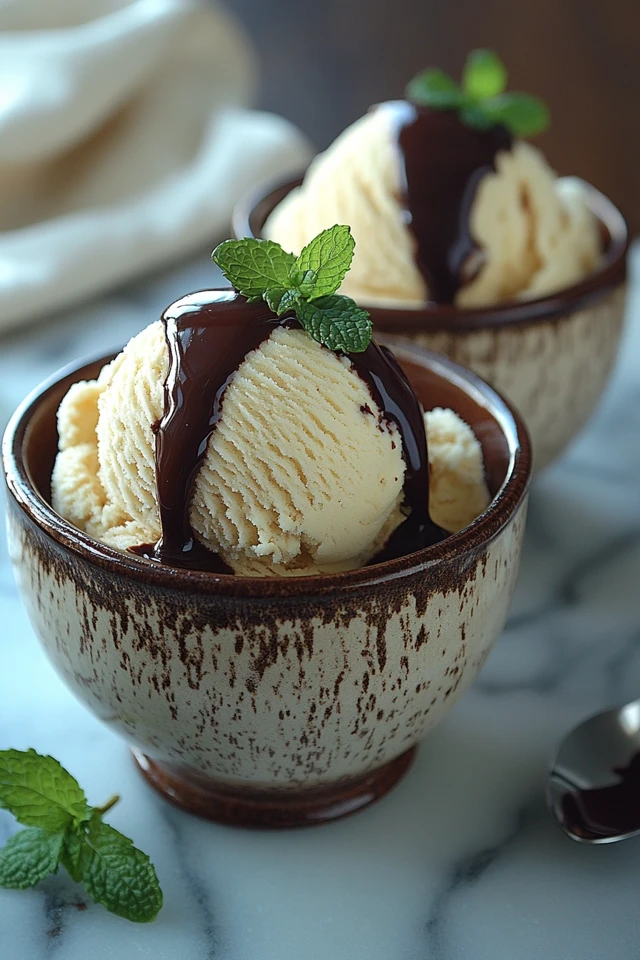
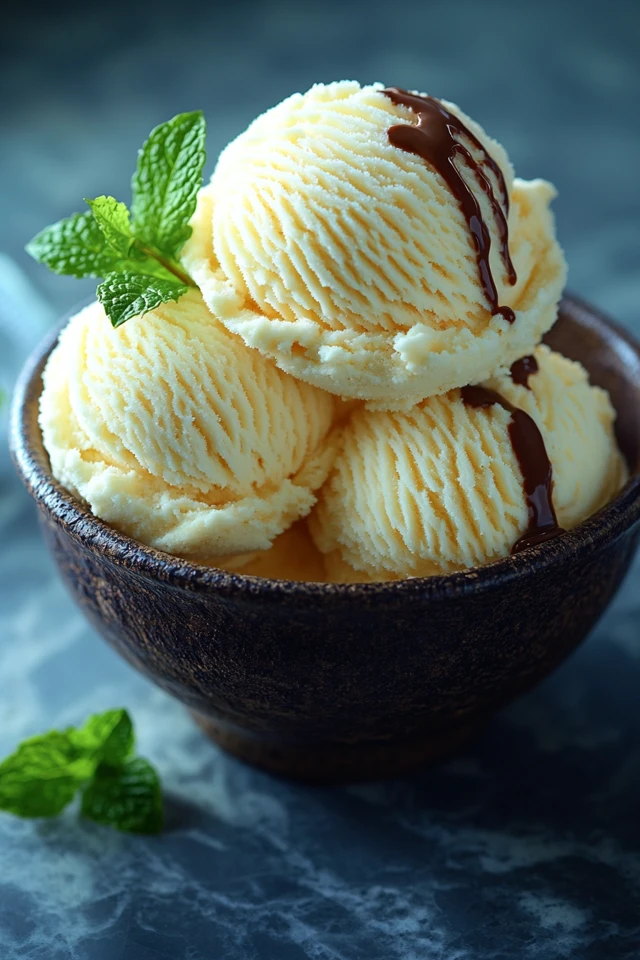
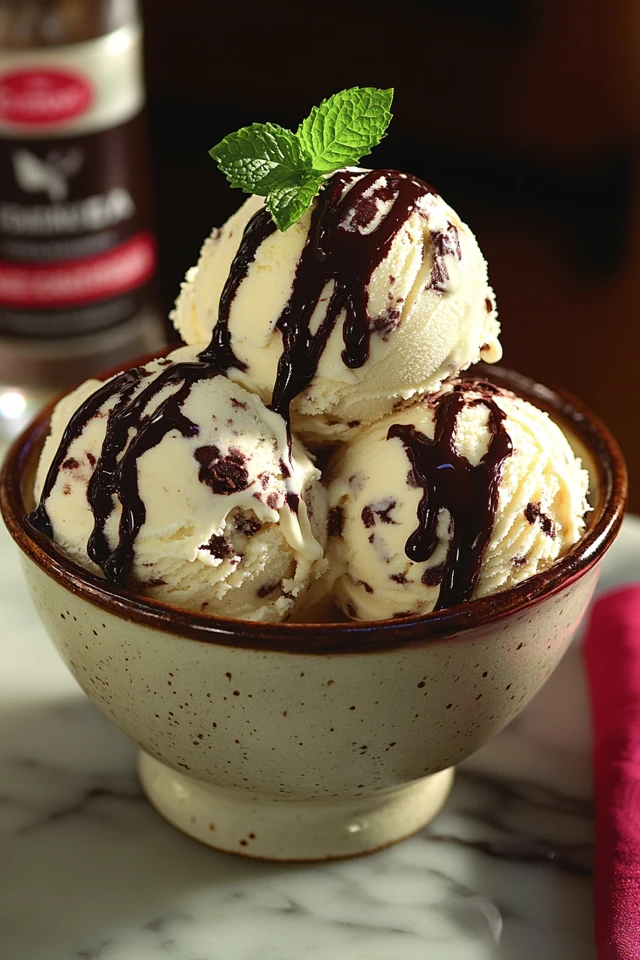
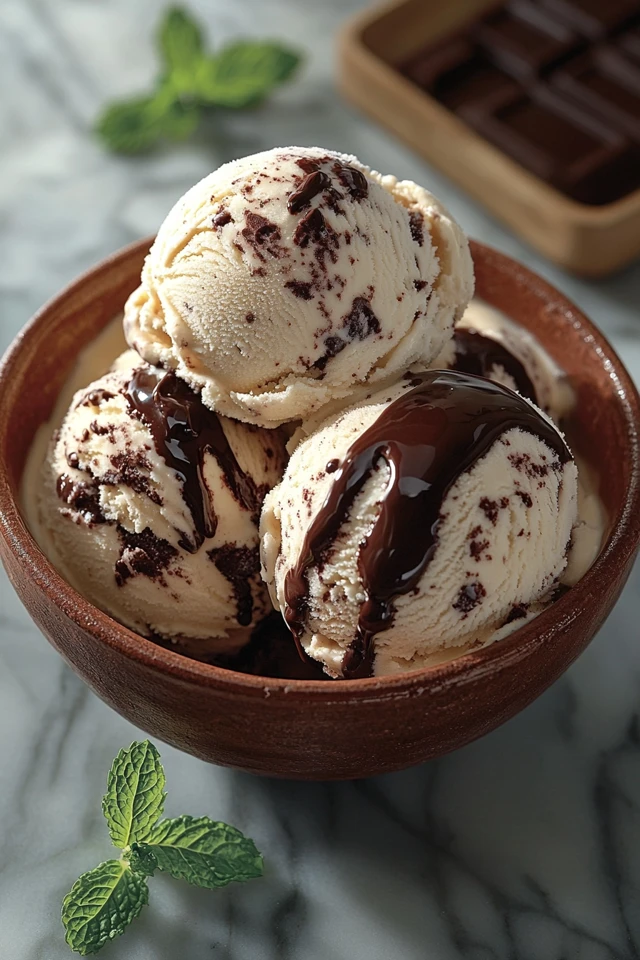
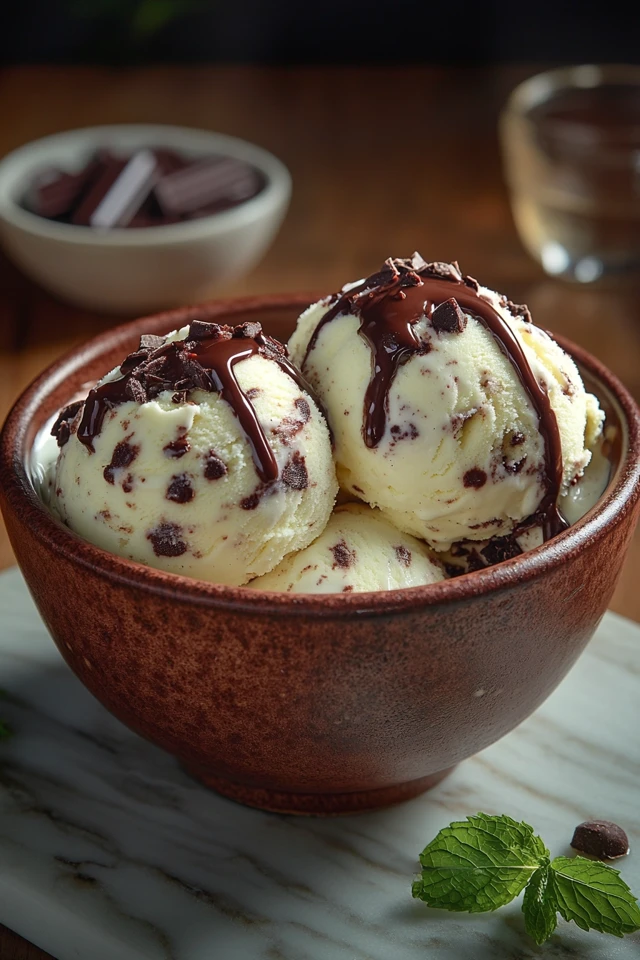
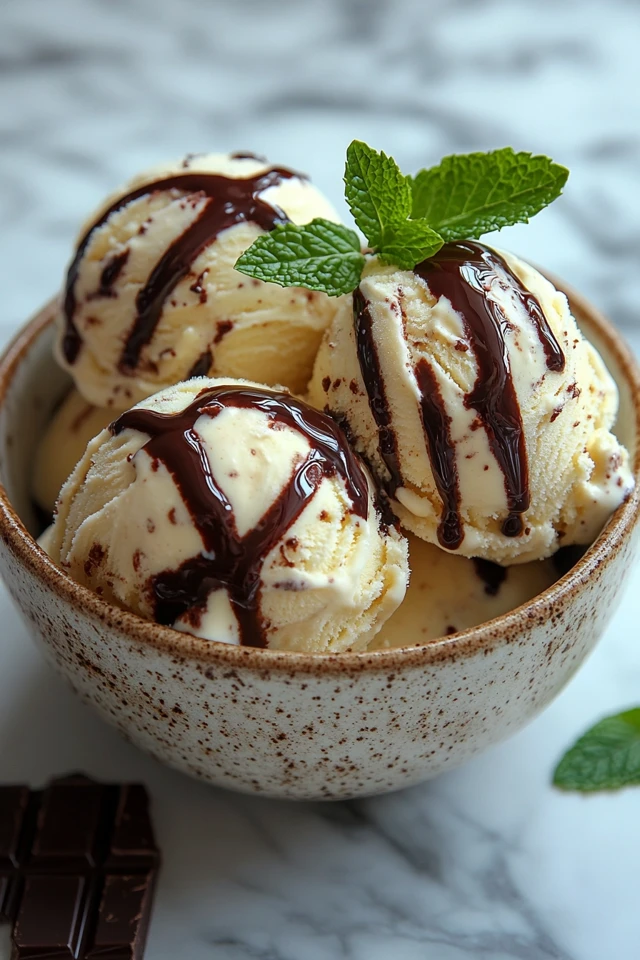
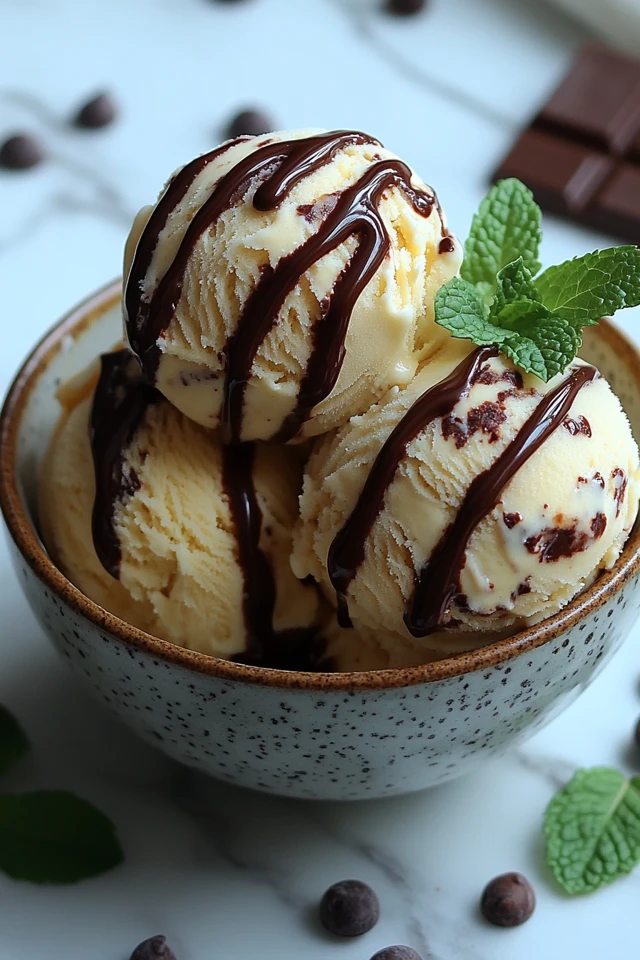
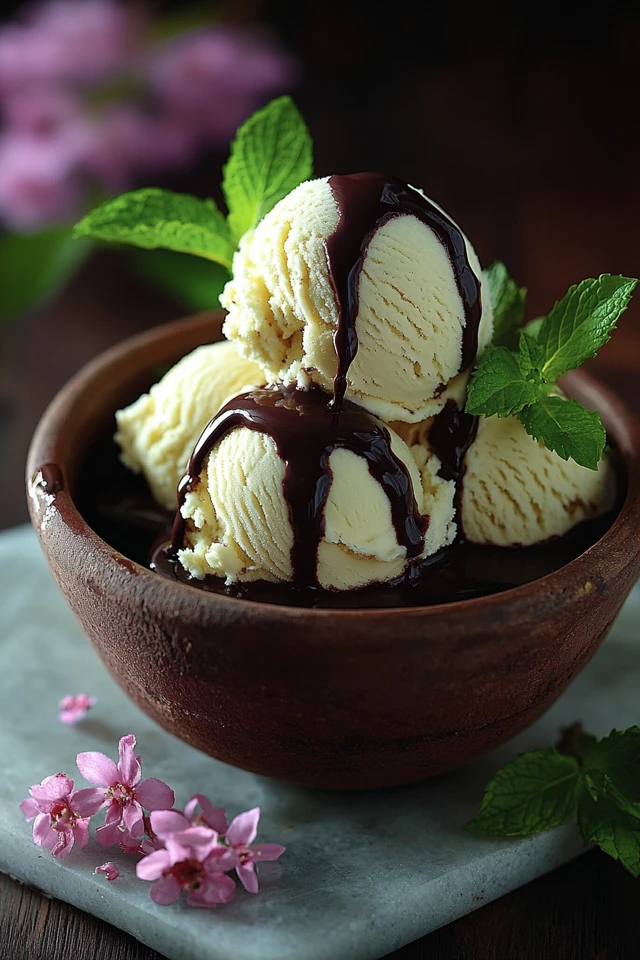
- Garnish (Optional): Top with additional vegan chocolate chips, fresh berries, or a drizzle of nut butter for added flair.
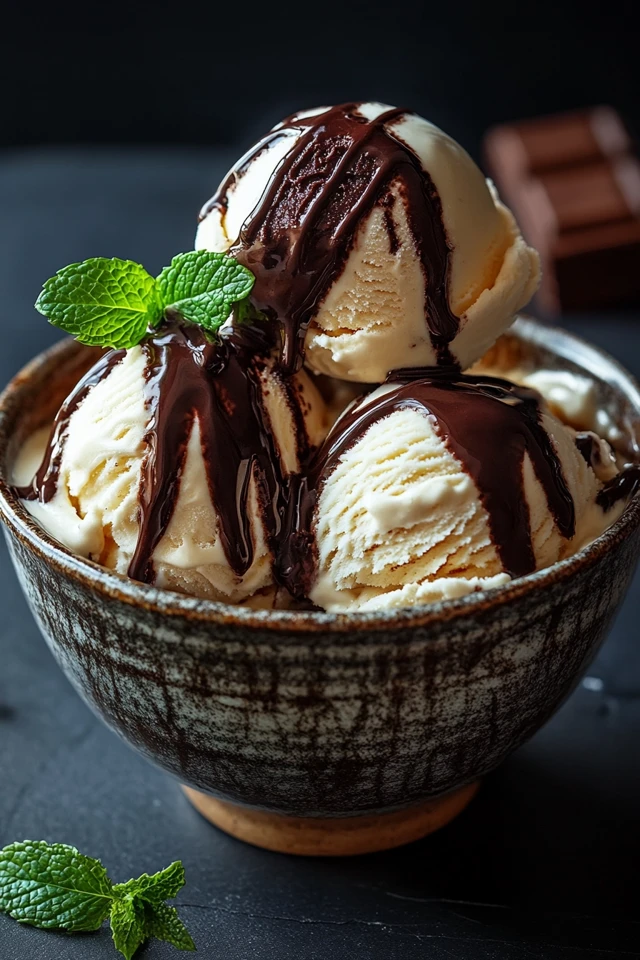
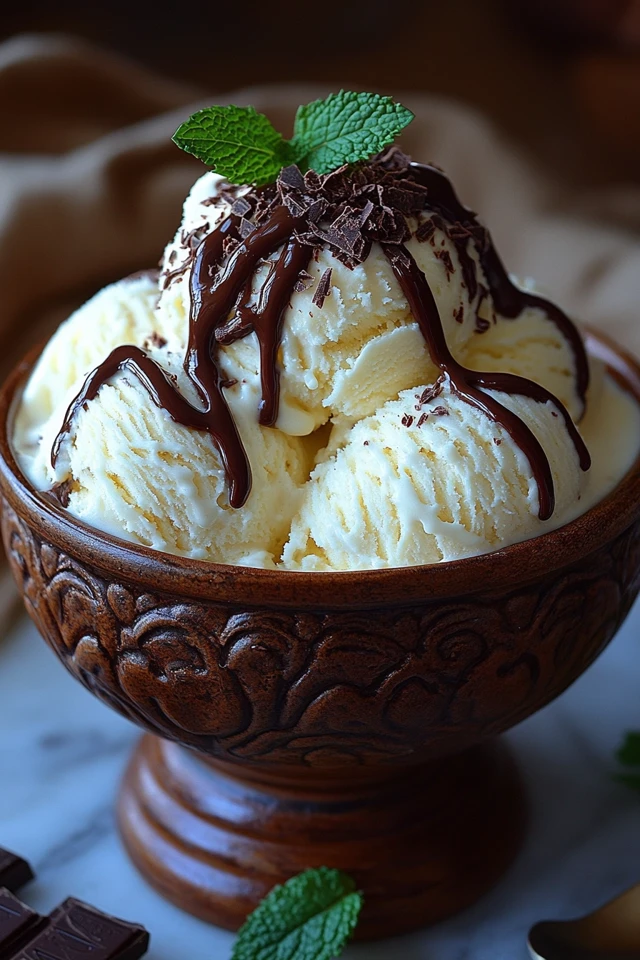
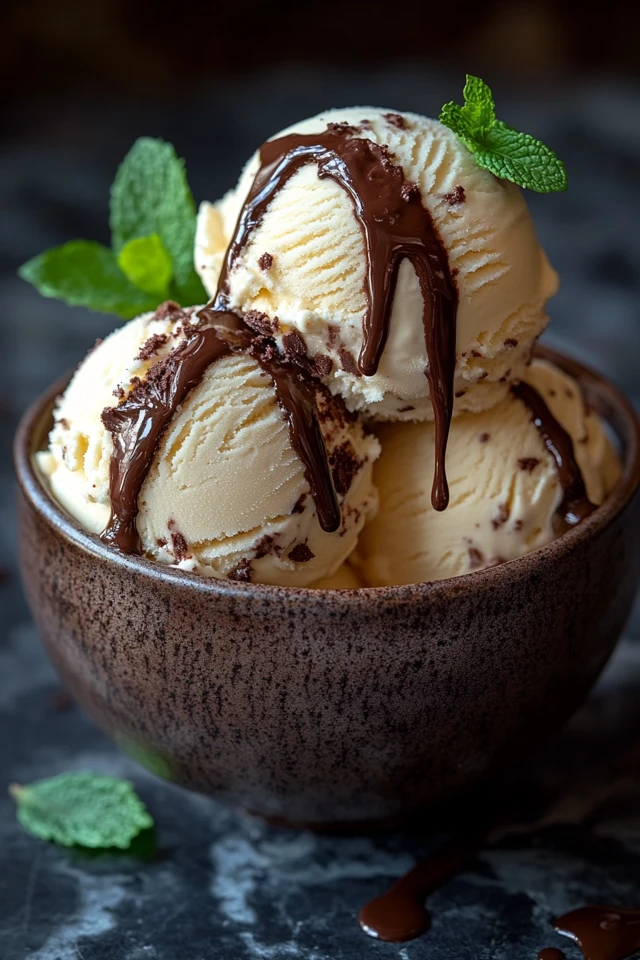
- Serve: Enjoy your Creamy Dairy-Free Ice Cream in bowls or cones, savoring each rich and creamy bite.
Tips and Variations
While the Creamy Dairy-Free Ice Cream is delicious as is, here are some tips and variations to customize the dish according to your preferences:
1. Use an Ice Cream Maker
For an even creamier texture, consider using an ice cream maker:
- Churn the Base: Pour the ice cream base into your ice cream maker and churn according to the manufacturer’s instructions.
- Add Mix-Ins: During the last few minutes of churning, add in your desired mix-ins for an even distribution.
2. Experiment with Flavors
Explore a variety of flavors to keep your ice cream adventures exciting:
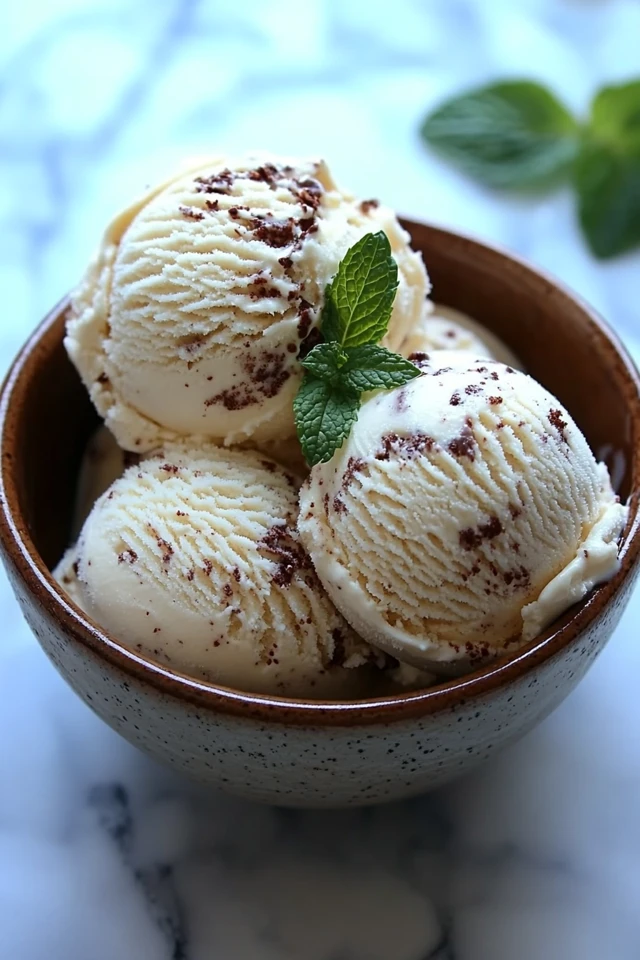
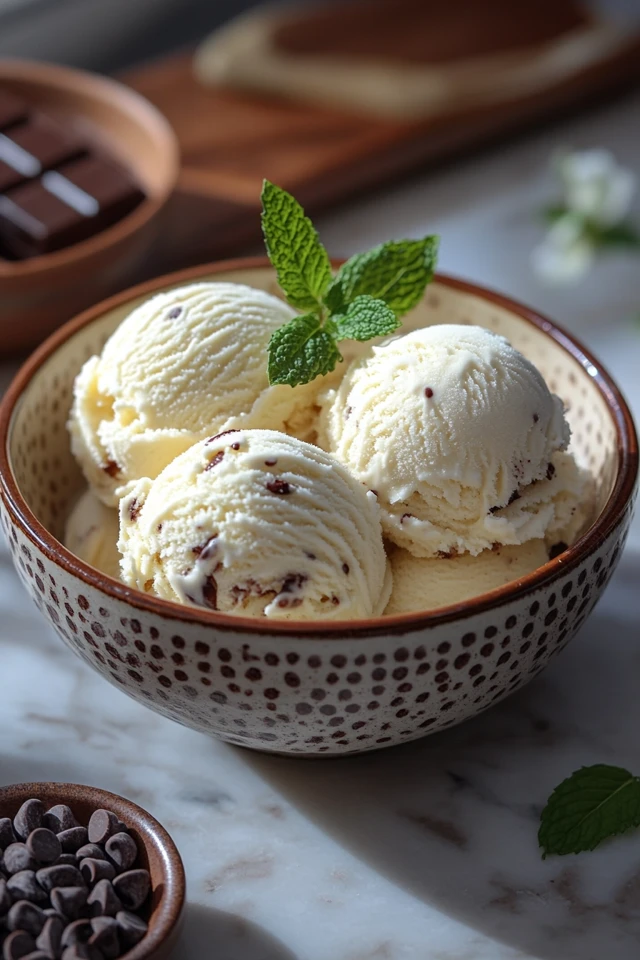
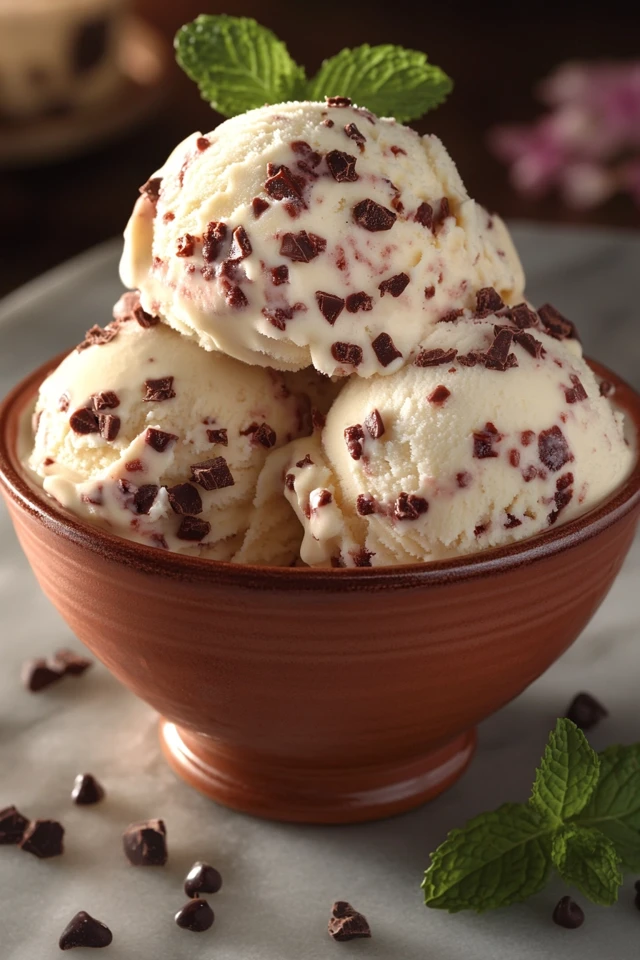
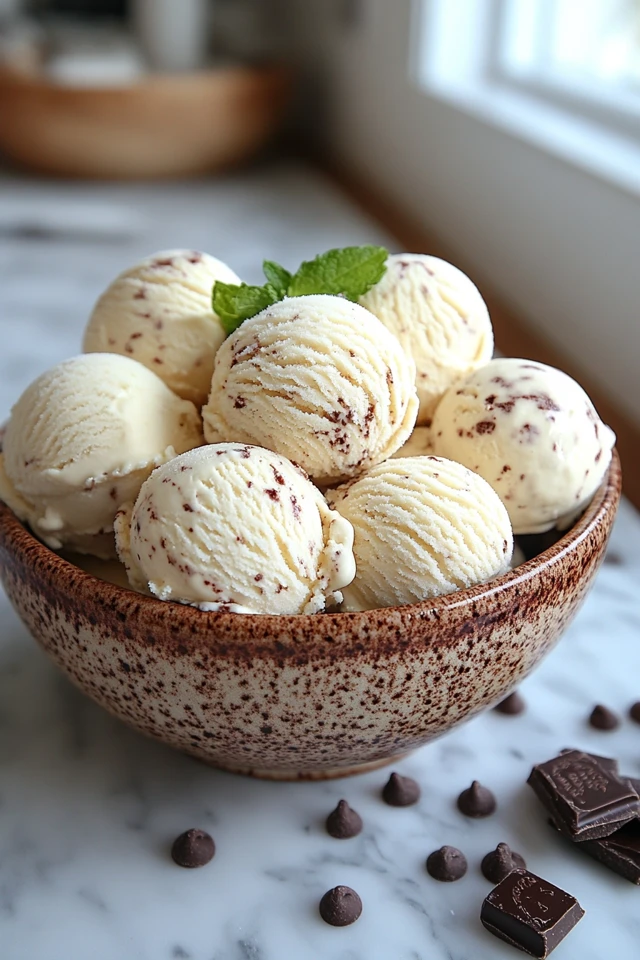
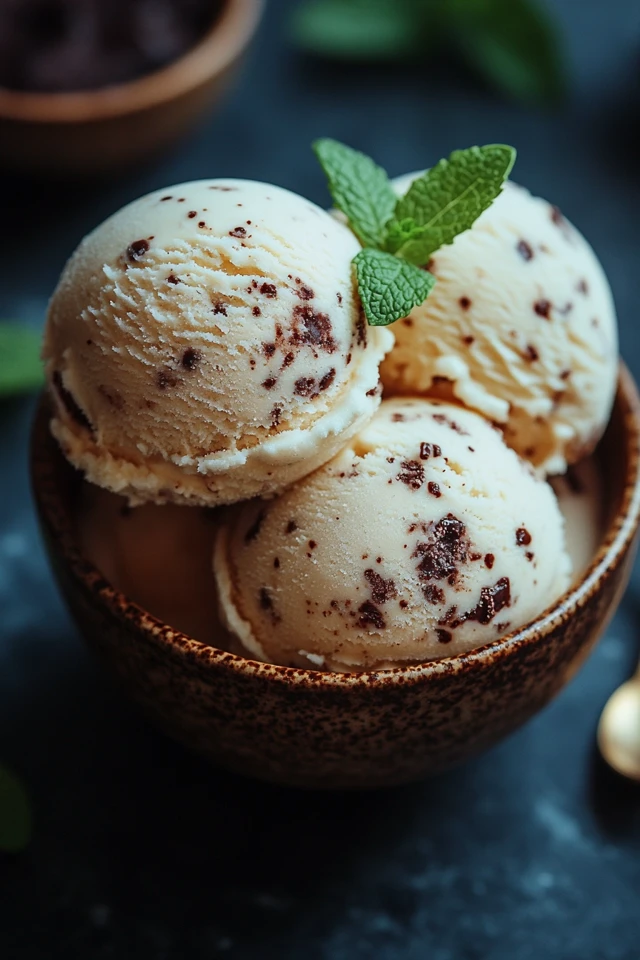
- Mint Chocolate Chip: Add a teaspoon of peppermint extract and fold in vegan chocolate chips.
- Salted Caramel: Stir in a swirl of vegan caramel sauce and sprinkle sea salt flakes on top.
- Peanut Butter Swirl: Fold in a generous swirl of natural peanut butter for a rich, nutty flavor.
3. Incorporate Superfoods
Boost the nutritional value by adding superfoods:
- Chia Seeds: Sprinkle chia seeds into the ice cream base for added omega-3 fatty acids.
- Hemp Seeds: Add hemp seeds for a complete protein boost.
- Goji Berries: Incorporate goji berries for antioxidants and a sweet-tart flavor.
4. Make It Lower in Sugar
For a healthier option, reduce the sugar content:
- Adjust Sweeteners: Decrease the amount of maple syrup or agave nectar, or use a sugar substitute like erythritol or stevia.
- Use Natural Sweeteners: Incorporate mashed bananas or dates for natural sweetness.
5. Add Alcohol for a Unique Twist
Enhance the flavor and texture by adding a splash of alcohol:
- Coffee Liqueur: Add a tablespoon of coffee liqueur for a mocha flavor.
- Amaretto: Incorporate amaretto for a sweet, almond-flavored ice cream.
- Rum: Add a tablespoon of dark rum for a rich, boozy touch.
6. Create Layered Ice Cream
Build a visually stunning and flavorful layered ice cream:
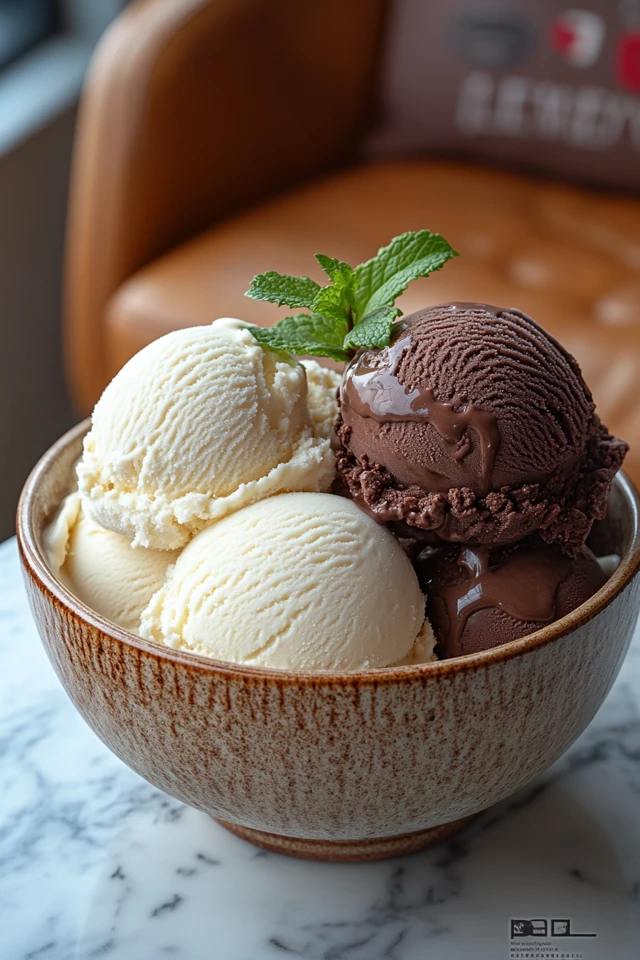
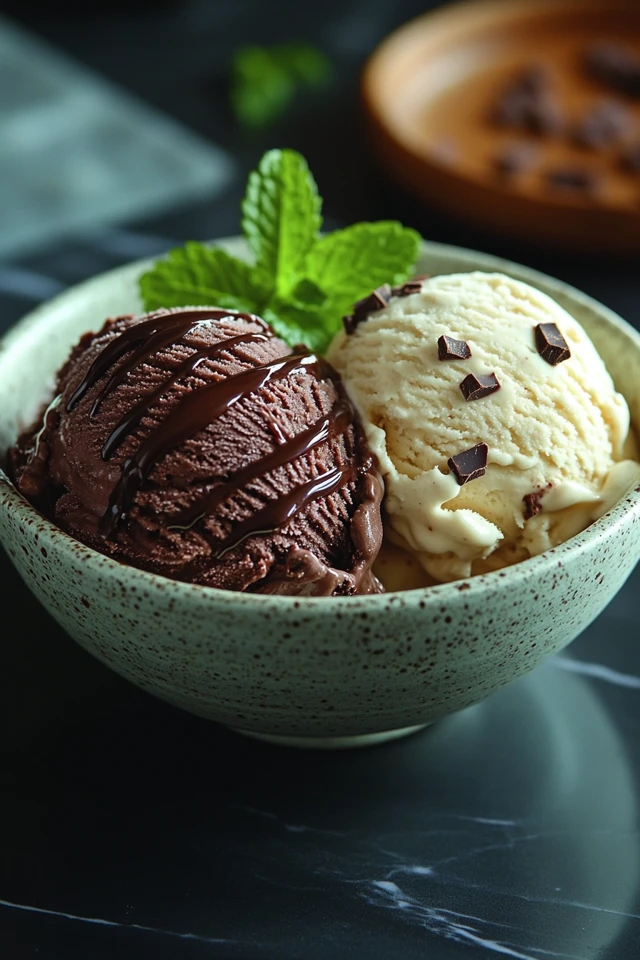
- Layer Flavors: Alternate layers of different flavored ice creams, such as chocolate and vanilla.
- Add Toppings: Incorporate layers of fruit compote, nut butter, or caramel sauce between the ice cream layers.
7. Serve with Fresh Toppings
Elevate your ice cream with fresh additions:
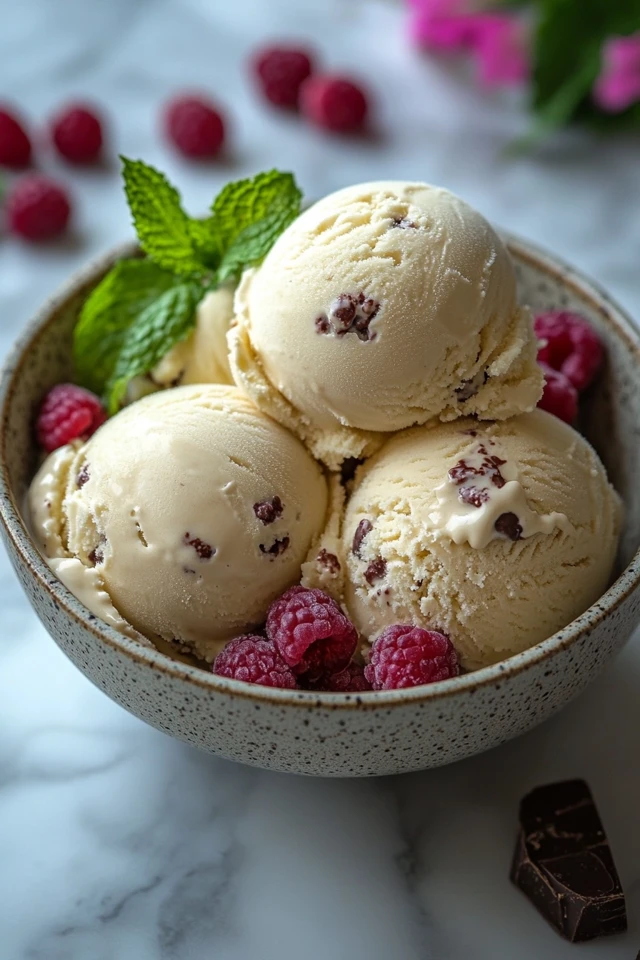
- Fresh Berries: Top with strawberries, raspberries, or blueberries for a burst of freshness.
- Vegan Whipped Cream: Add a dollop of vegan whipped cream for extra creaminess.
- Crushed Nuts: Sprinkle crushed nuts like almonds or pecans for added crunch.
8. Make It a One-Bowl Recipe
Simplify the process by making a no-churn ice cream:
- Blend Ingredients: Combine all base ingredients in a blender until smooth, then pour into a freezer-safe container and freeze, stirring every 30 minutes until set.
9. Enhance with Spices
Add depth and warmth with spices:
- Cinnamon: Stir in a teaspoon of ground cinnamon for a spiced ice cream.
- Nutmeg: Add a pinch of nutmeg for a subtle, aromatic flavor.
- Cardamom: Incorporate a pinch of cardamom for an exotic twist.
10. Pair with Desserts
Combine your ice cream with other desserts for a decadent treat:
- Brownie Sundae: Serve with slices of vegan brownies for a rich sundae.
- Fruit Tart: Pair with a vegan fruit tart for a balanced and refreshing dessert.
- Chocolate Cake: Top with vegan chocolate cake for an indulgent combination.
Nutritional Information
Understanding the nutritional profile of your meals helps you make informed dietary choices. Here’s the approximate nutritional breakdown for one serving of the Creamy Dairy-Free Ice Cream (serves 8):
Per Serving:
- Calories: 200 kcal
- Protein: 2g
- Carbohydrates: 25g
- Fiber: 1g
- Fat: 12g
- Saturated Fat: 10g
- Sugar: 18g
- Sodium: 50mg
Nutritional Highlights:
- Healthy Fats: Coconut milk provides healthy saturated fats that support brain health and satiety.
- Vitamins and Minerals: Coconut milk is rich in vitamins C, E, and B vitamins, along with minerals like magnesium and potassium.
- Antioxidants: Cocoa powder and dark chocolate chips are loaded with antioxidants, which help protect the body from free radicals.
Adjusting Nutritional Content:
- Lowering Calories: Reduce the amount of maple syrup or agave nectar, or use a sugar substitute to decrease calorie content.
- Increasing Protein: Add a scoop of vegan protein powder or incorporate nut butters to boost the protein content.
- Reducing Fat: Use light coconut milk instead of full-fat coconut milk to lower the fat content.
Conclusion
The Creamy Dairy-Free Ice Cream is a shining example of how plant-based desserts can be both indulgent and incredibly satisfying. Its rich, creamy texture paired with customizable flavors and mix-ins creates a harmonious blend of tastes and textures that cater to both comfort and nutrition. Whether you’re preparing a refreshing summer treat, hosting a dessert party, or simply craving a sweet escape, this vegan ice cream offers a delicious and wholesome solution that fits seamlessly into any lifestyle.
By leveraging the simplicity of plant-based ingredients and the versatility of natural sweeteners, this recipe showcases how minimal components can come together to create a flavorful and nutritious dessert. The ease of preparation ensures that you can enjoy homemade, creamy vegan ice cream even on your busiest days, without the stress of complex cooking steps or extensive cleanup.
Moreover, the adaptability of this dish allows you to experiment and personalize it according to your taste preferences and dietary needs. From adjusting the sweetness to incorporating superfoods or unique flavor combinations, the Creamy Dairy-Free Ice Cream is a flexible and delightful addition to any culinary repertoire. Embrace the indulgent bliss of this vibrant vegan ice cream, and let it inspire you to explore the endless possibilities of plant-based treats.
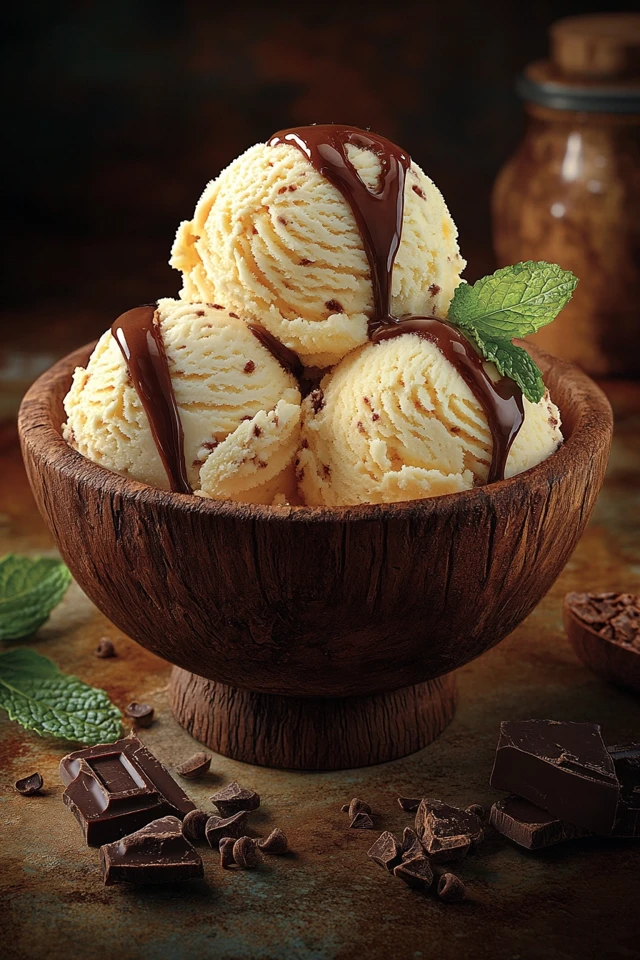
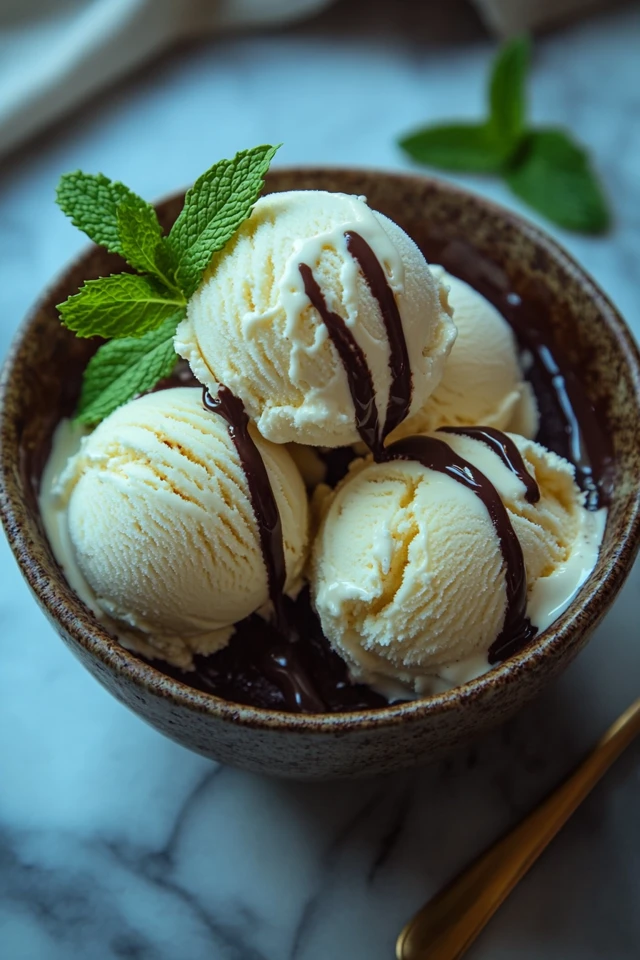
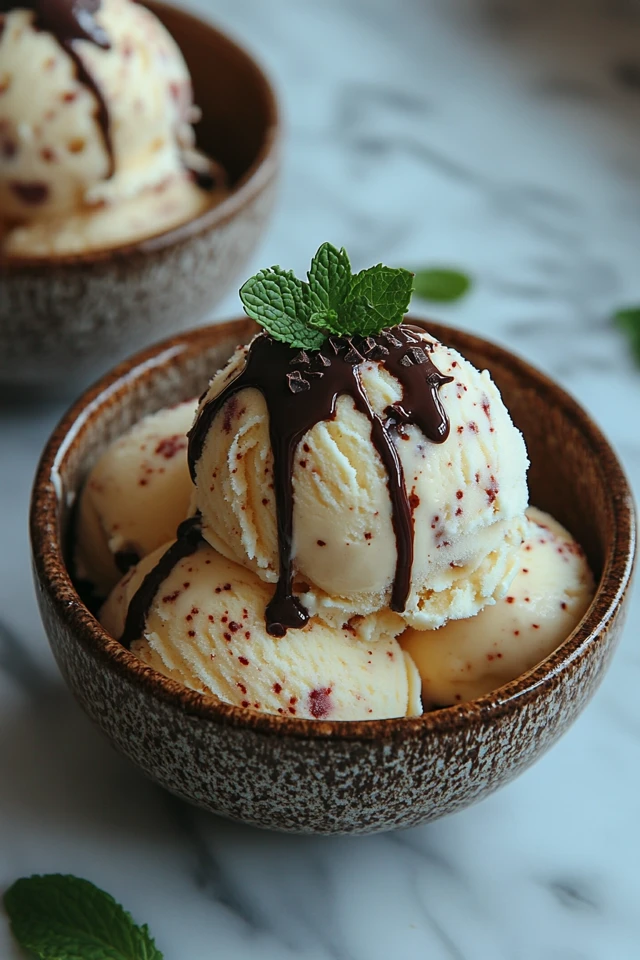
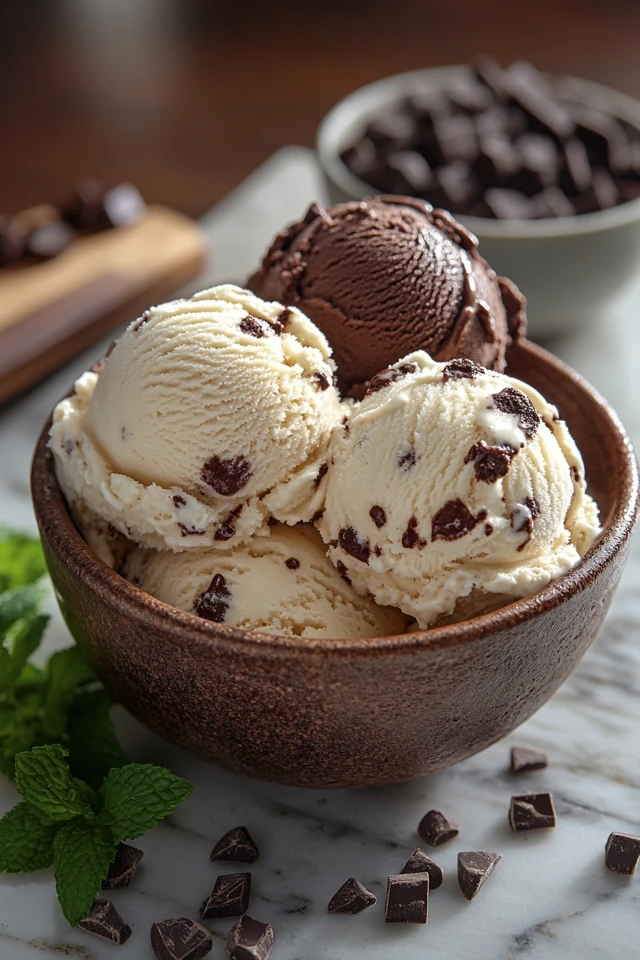
Picture Gallery
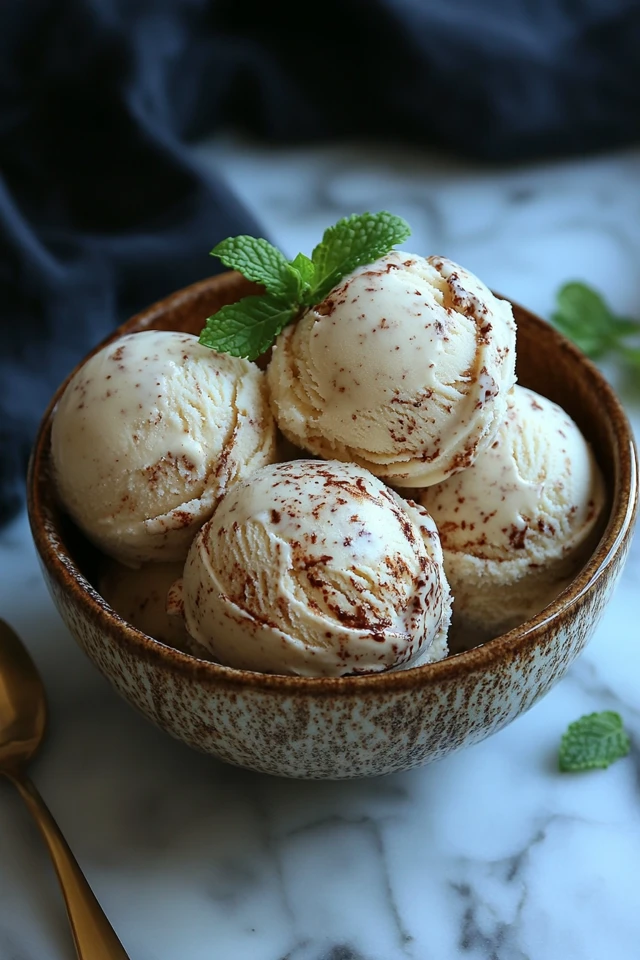
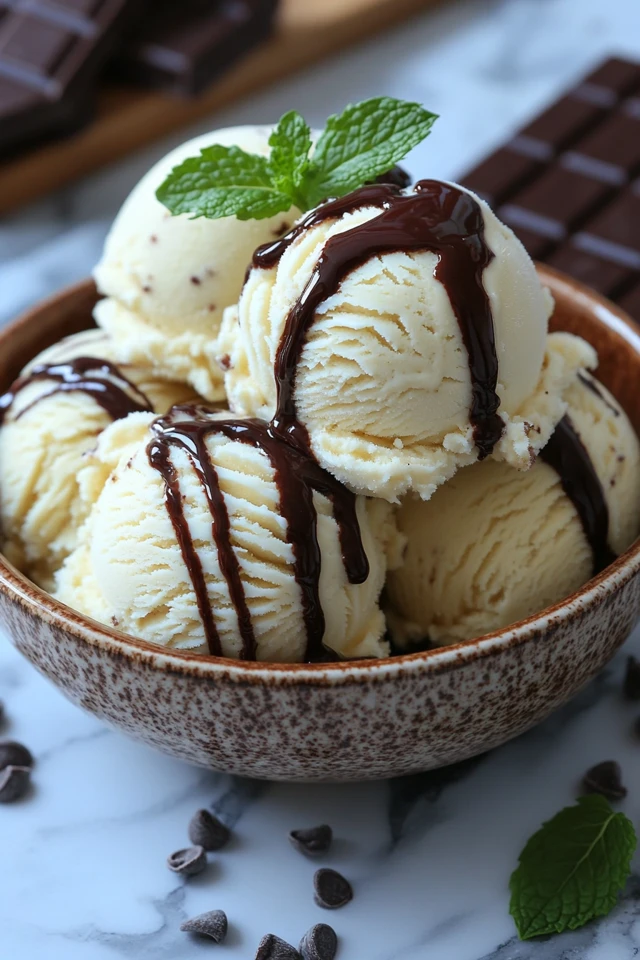
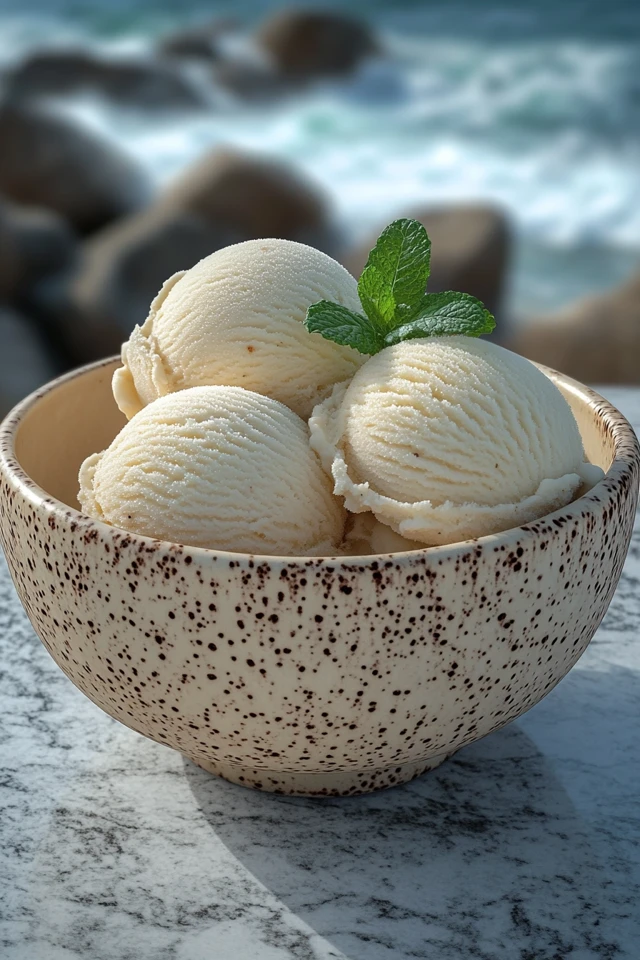
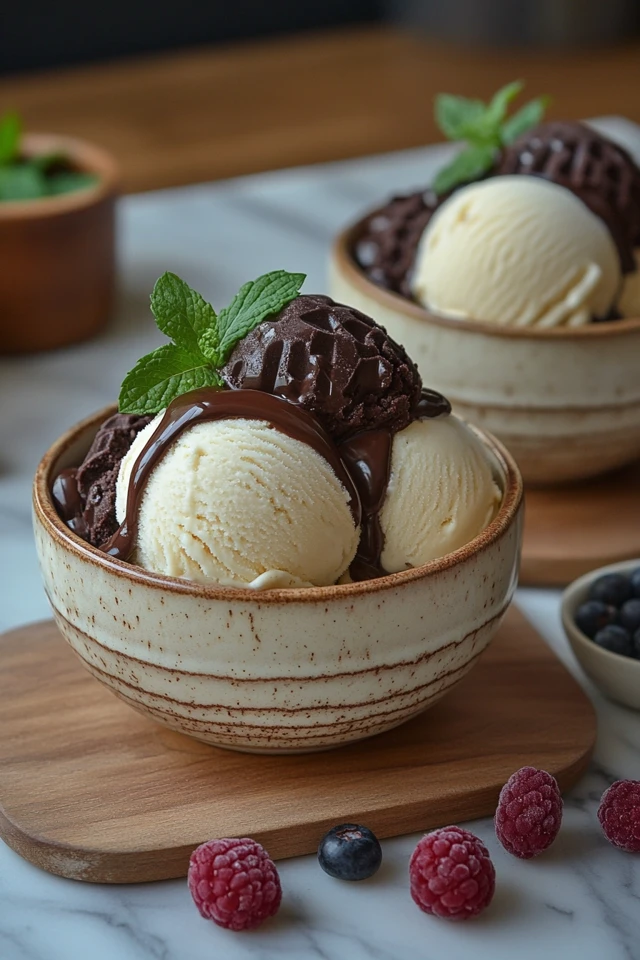
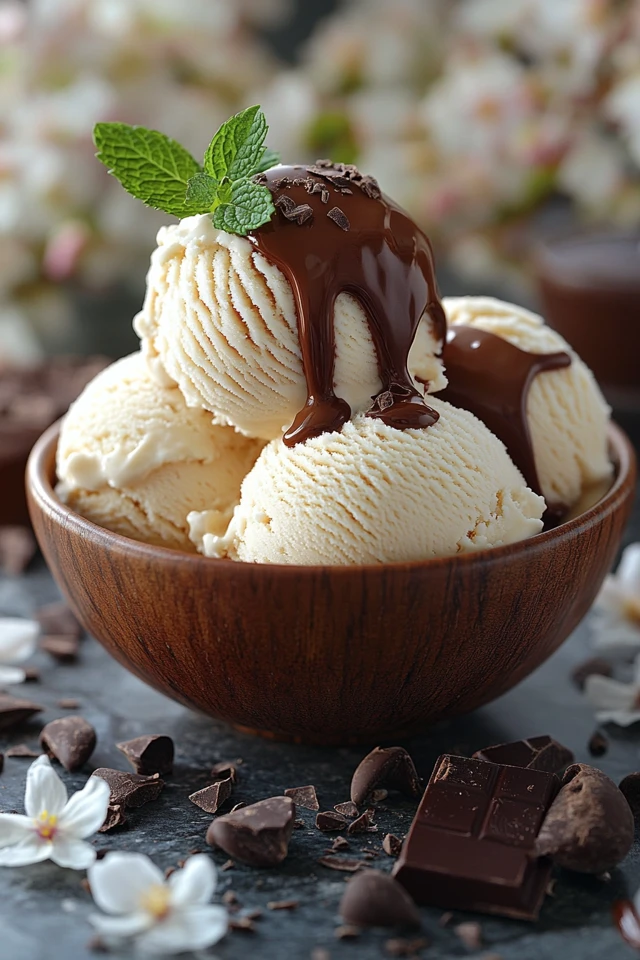
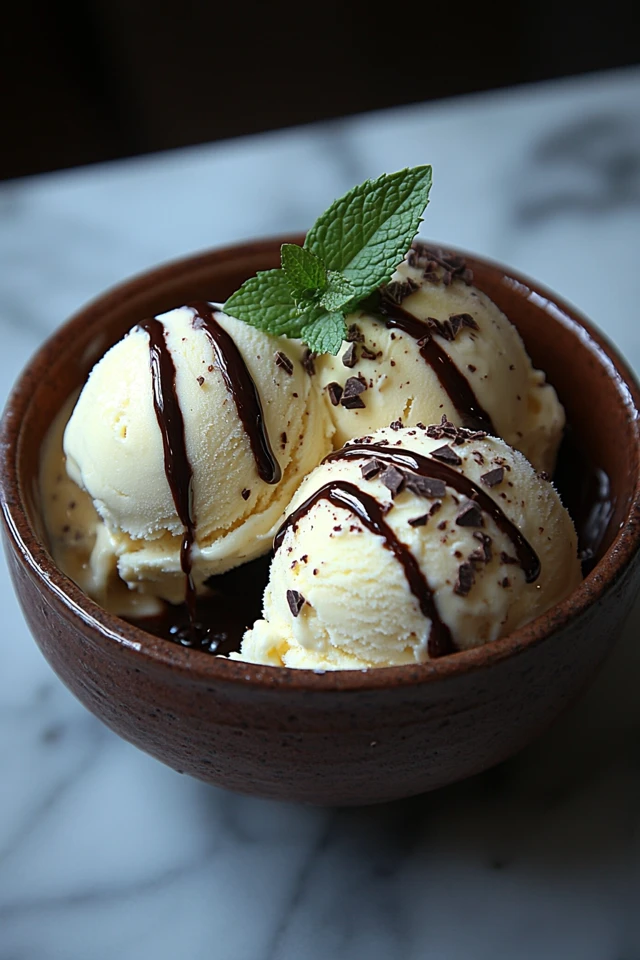
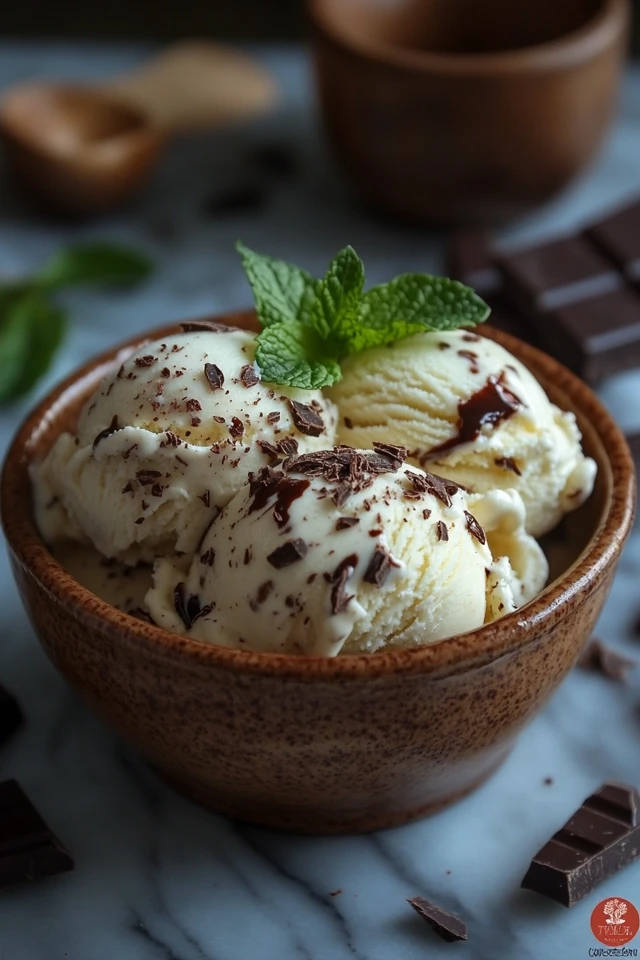
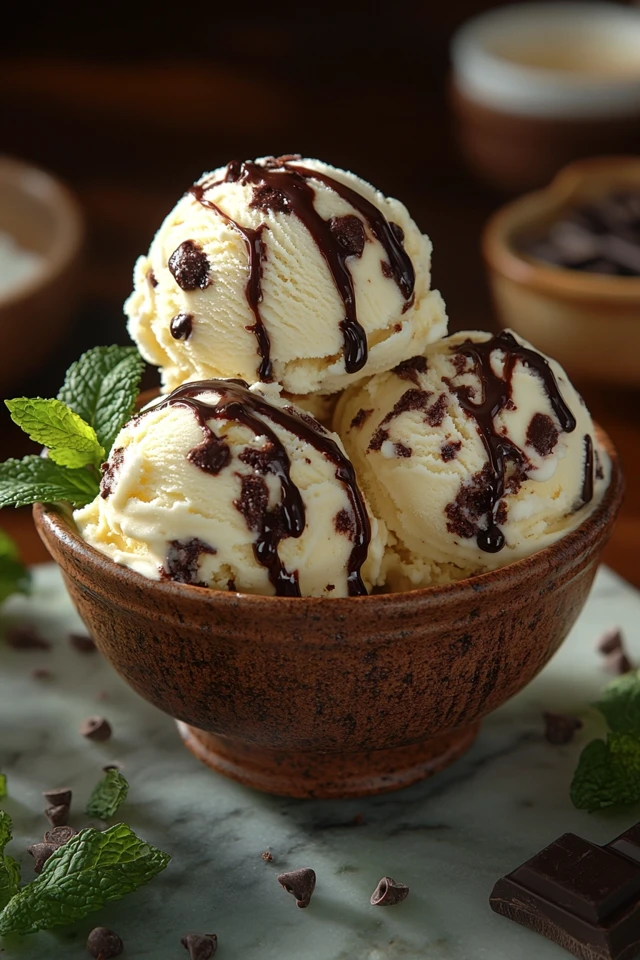
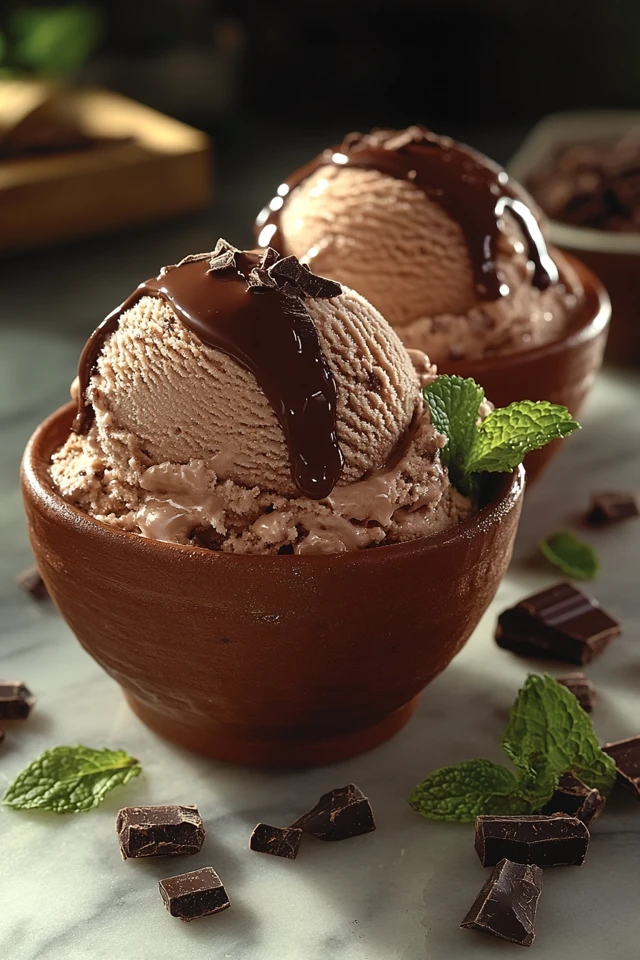
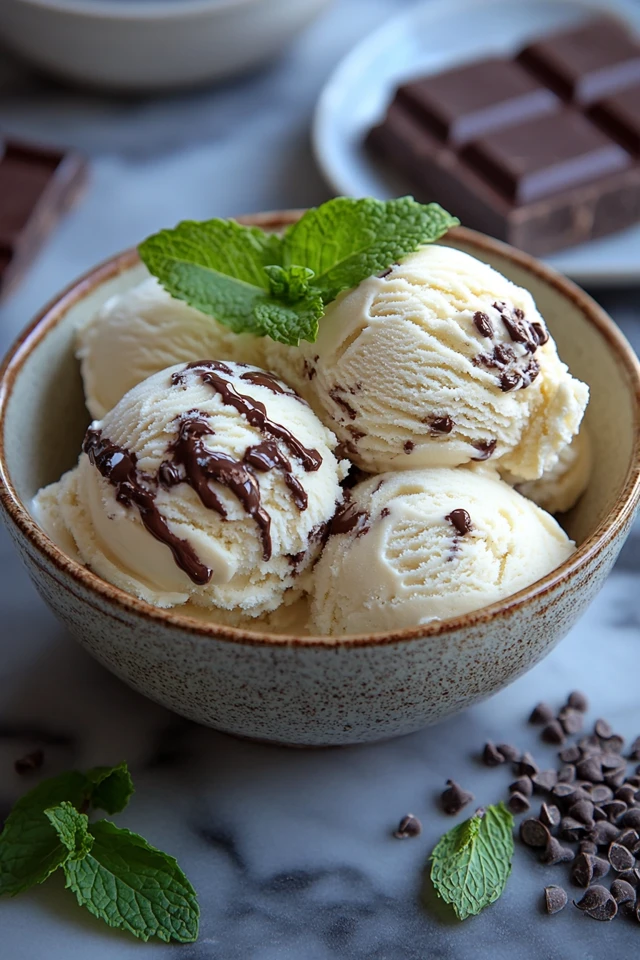
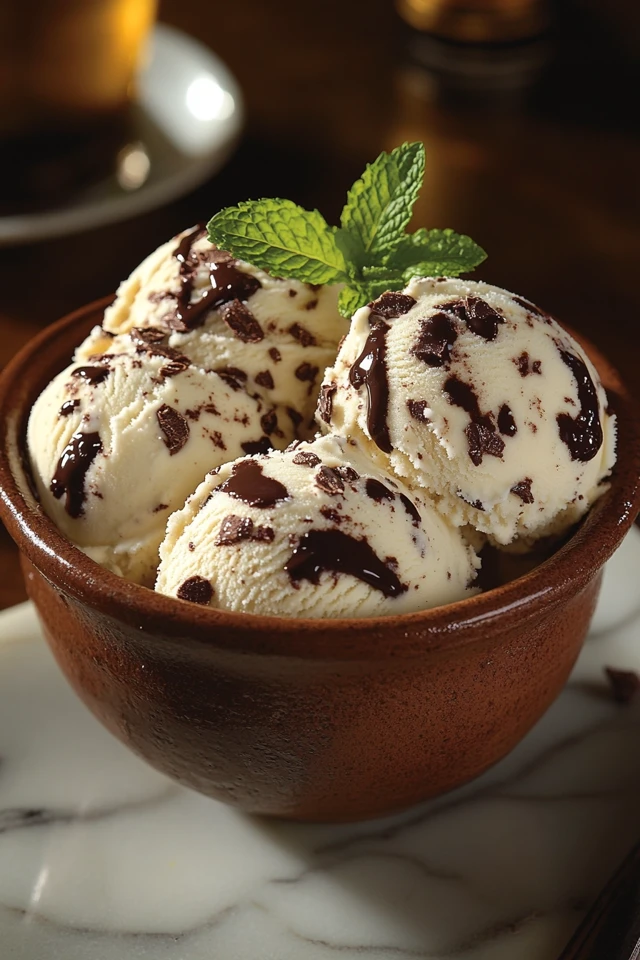
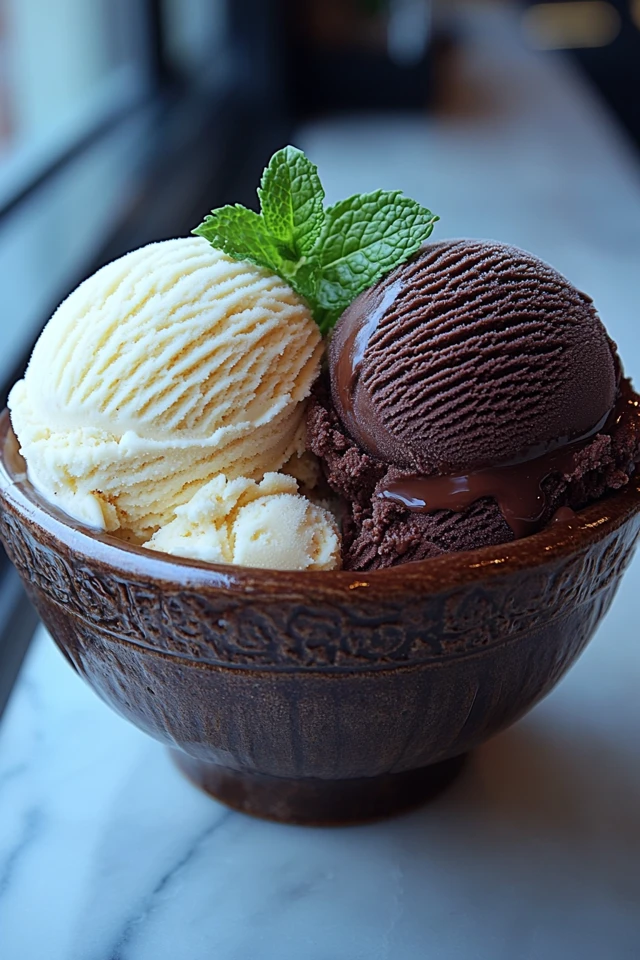
Frequently Asked Questions (FAQs)
1. Can I use different types of plant-based milk for this ice cream?
Absolutely! While coconut milk is excellent for its creamy texture, you can substitute it with almond milk, cashew milk, oat milk, or soy milk. Each type of plant-based milk will impart a slightly different flavor and consistency, so choose based on your preference.
2. Is this ice cream suitable for soy-free or nut-free diets?
Yes, by choosing the appropriate plant-based milk. For soy-free diets, opt for coconut milk or almond milk. If you need a nut-free option, use soy milk, oat milk, or pea milk. Always check labels to ensure all ingredients align with your dietary needs.
3. How can I make the ice cream softer and easier to scoop?
To achieve a softer texture, let the ice cream sit at room temperature for 5-10 minutes before scooping. Alternatively, you can add a tablespoon of alcohol like vodka or a splash of plant-based milk to the ice cream base to prevent it from freezing too hard.
4. Can I make this ice cream without an ice cream maker?
Yes! You can create a no-churn version by blending the ingredients until smooth, pouring the mixture into a freezer-safe container, and stirring it every 30 minutes for a few hours until it reaches the desired consistency.
5. What can I substitute for maple syrup or agave nectar?
If you prefer, you can use other natural sweeteners like coconut sugar, date syrup, or brown rice syrup. For a lower-sugar option, consider using a sugar substitute like erythritol or stevia, adjusting the amount to taste.
6. How long does the ice cream last in the freezer?
The ice cream can be stored in an airtight container in the freezer for up to 2 weeks. For the best texture and flavor, consume it within the first week.
7. Can I add fruit puree to the ice cream base?
Absolutely! Adding fruit puree like strawberry, mango, or blueberry can create delicious fruit-flavored ice creams. Simply blend the puree into the base before freezing, ensuring it’s well incorporated.
8. Is this recipe gluten-free?
Yes, as long as all your ingredients, including any add-ins like cookies or granola, are gluten-free. Always check labels to ensure there are no hidden gluten sources.
9. How can I make the ice cream more chocolatey?
To enhance the chocolate flavor, add an extra tablespoon of cocoa powder or mix in melted vegan chocolate into the base. You can also incorporate a teaspoon of instant espresso powder to deepen the chocolate taste.
10. Can I add spices to the ice cream?
Absolutely! Adding spices like cinnamon, nutmeg, or cardamom can introduce new layers of flavor. Start with a small amount and adjust to taste, ensuring the spices complement your chosen flavor.
About the Author
Welcome to Vegan & Plant-Based Kitchen! I’m Julio Arco, a passionate vegan chef dedicated to creating delicious, easy-to-make plant-based recipes that nourish both body and soul. Since embracing a vegan lifestyle in 2010, I’ve been on a culinary journey to explore the endless possibilities of plant-based cooking. From creamy ice creams to indulgent desserts, my mission is to inspire and empower you to embrace a compassionate and healthy lifestyle through wholesome food.
Join me on this journey as we explore diverse flavors, experiment with fresh ingredients, and celebrate the beauty of plant-based living. Let’s create, share, and enjoy the goodness of vegan cooking together!
Disclaimer: This blog post is intended for informational purposes only. Always consult with a healthcare professional before making significant changes to your diet.

